This article outlines the two different ways to run your application’s Docker containers with Deepfactor. If you are using Kubernetes to orchestrate and manage your Docker containers, please refer to this document.
Using the dfctl run Command #
This method involves no changes to your container image. It is ideal for environments where a user prefers to keep the container image unchanged from QA/staging to production. Instead of using “docker run” to launch your container, you will use the “dfctl run” command. The advantage with this method is that you don’t need to modify your docker images to instrument them with Deepfactor.
Step 1: Download the Deepfactor docker volume initialization script. #
curl https://repo.deepfactor.io/install-dfctl.sh | sh -
The above script installs the “deepfactor-runtime” package for your Linux distribution. If the package is already installed, the script will update the package to the latest version. If your machine is a docker host, then the script also creates a docker volume with the name “df-runtime” and copies over the Deepfactor runtime artifacts to this docker volume. If you clean the docker volumes on the host using the “docker volume prune” command, you will need to re-run this script to re-create the df-runtime docker volume before running any of your containers with Deepfactor.
Step 2: Set your auth token #
export DF_RUN_TOKEN=<YOUR_DEEPFACTOR_TOKEN>
This token is needed to register your component and send telemetry to the Deepfactor Portal. You can get this token from the Deepfactor Portal UI. On the dashboard screen click on ‘Run with Deepfactor’ button on the right top.
Step 3: Run your docker container with Deepfactor #
dfctl run -a "my application" -v --docker-run DOCKER_RUN_OPTIONS --image IMAGE:1.1
- -a or –application (required) specify the name of your application
- –docker-run (required) specify the full docker run command along with arguments you use to run your container. The docker run parameters must identify the container image with –image. Command arguments may follow after the image name.
- -c or –component (optional) specify the name of your component. Defaults to APP_IMAGE without tag
- –version (optional) specify the version of the component you are currently running. You can filter insights based on this version number from the UI. Defaults to APP_IMAGE tag
- -p or –policy (optional) specify the alert policy for this component. This policy will be used to raise alerts for all active and future instances of this component.
- –disable-stack-traces (optional) – This option is to disable stack traces. Stack traces are enabled by default.
- –disable-usage-tracking (optional) For java applications, Deepfactor injects a jvmti agent to intercept class loaded events and provides the list of classes used within each jar. You can disable this intercept by passing this option. Usage tracking for other programming language dependencies is always enabled irrespective of this option as it doesn’t add any additional overhead.
- -E or –env (optional) specify the environment in which you are running your component (Ex. staging, qa etc.). You can filter insights based on the environment you specify.
The above command mounts the df-runtime docker volume to the /opt/deepfactor directory in your container.
Note:
1. Please ensure you add –image before your image name.
2. Running docker image requires privileges. Hence you will have to run this command as a member of the docker group, as root or with sudo. Use the -E option with sudo to preserve the environment variable DF_RUN_TOKEN for registration with the Deepfactor portal.
3. Applications could see a performance impact when run with Deepfactor since stack traces are enabled by default.
Adding Deepfactor to your container image #
This method involves incorporating Deepfactor’s instrumentation library into the container image itself. This method is ideal for environments where a user wishes not to change his / her deployment command or install dfctl on the deployment machine. In this method, we take your docker image, add runtime support libraries (libdf.so) and create a new image. During deployment, you must use this newly created image with Deepfactor enabled instead of the original image. One advantage of this approach is that your deployment scripts/pipeline don’t need to change.
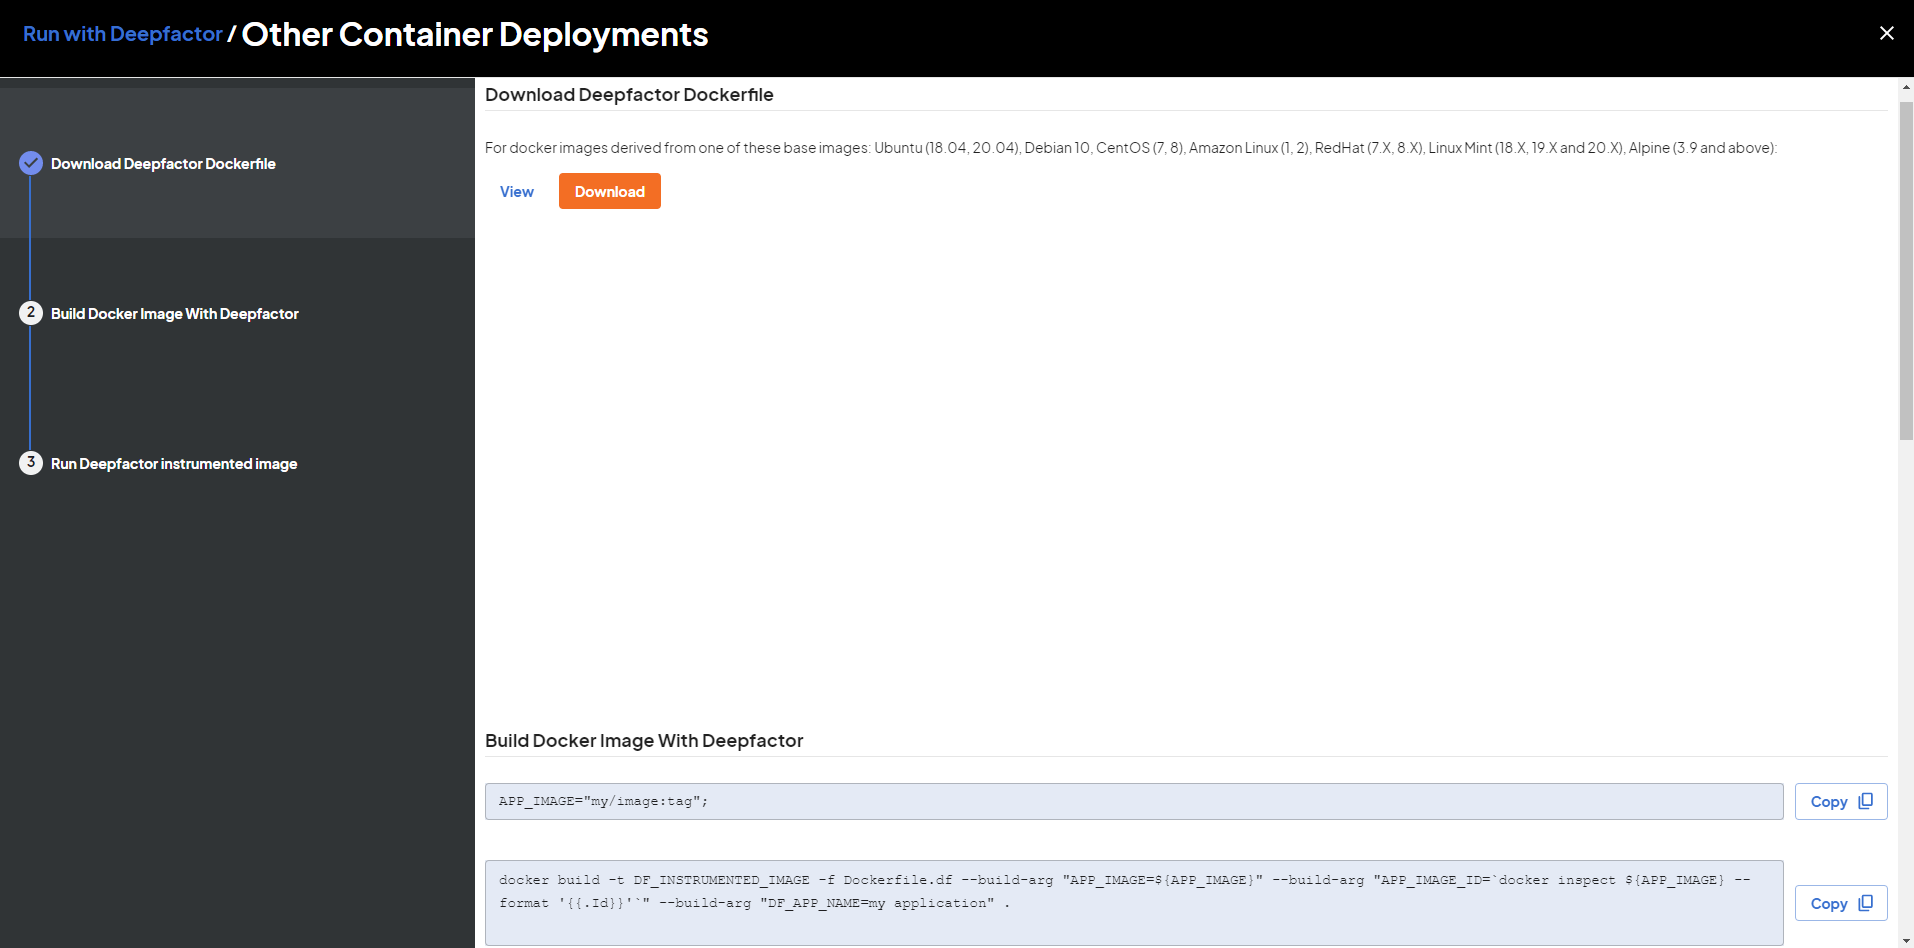
Step 1: Download Deepfactor Dockerfile #
- Login to your Deepfactor Portal.
- Click on Run with Deepfactor.
- In the left sidebar, click on the Other Container Deployments option.
- Click the Download button to download the Docker file.

This Dockerfile.df will run a multi-stage build to create a new image from your Docker image with runtime libraries included in /opt/Deepfactor.
Step 2: Build Docker Image With Deepfactor #
APP_IMAGE="my/image:tag";
docker pull ${APP_IMAGE}
docker build --no-cache -t DF_INSTRUMENTED_IMAGE -f Dockerfile.df \
    --build-arg "APP_IMAGE=${APP_IMAGE}" \
    --build-arg "APP_IMAGE_ID=`docker inspect ${APP_IMAGE} --format '{{.Id}}'`" \
    --build-arg "DF_APP_NAME=my application" .
Note: You need to pull the application image first so that image id can be retrieved and passed in the succeeding docker build command.
In this step, we use the Dockerfile downloaded in Step 1 to create the new image with Deepfactor runtime included.
- APP_IMAGE is the name of the docker image, generally of the form [registry][:port]/[image_path][:tag] you want to instrument with Deepfactor
- DF_APP_NAME (required) specify the name of your application
- DF_INSTRUMENTED_IMAGE: name of the instrumented docker image. You have to deploy this image as part of your deployment pipeline.
- APP_IMAGE_ID: This is the image SHA of the uninstrumented image. This argument is required to correlate scan results with runtime results.
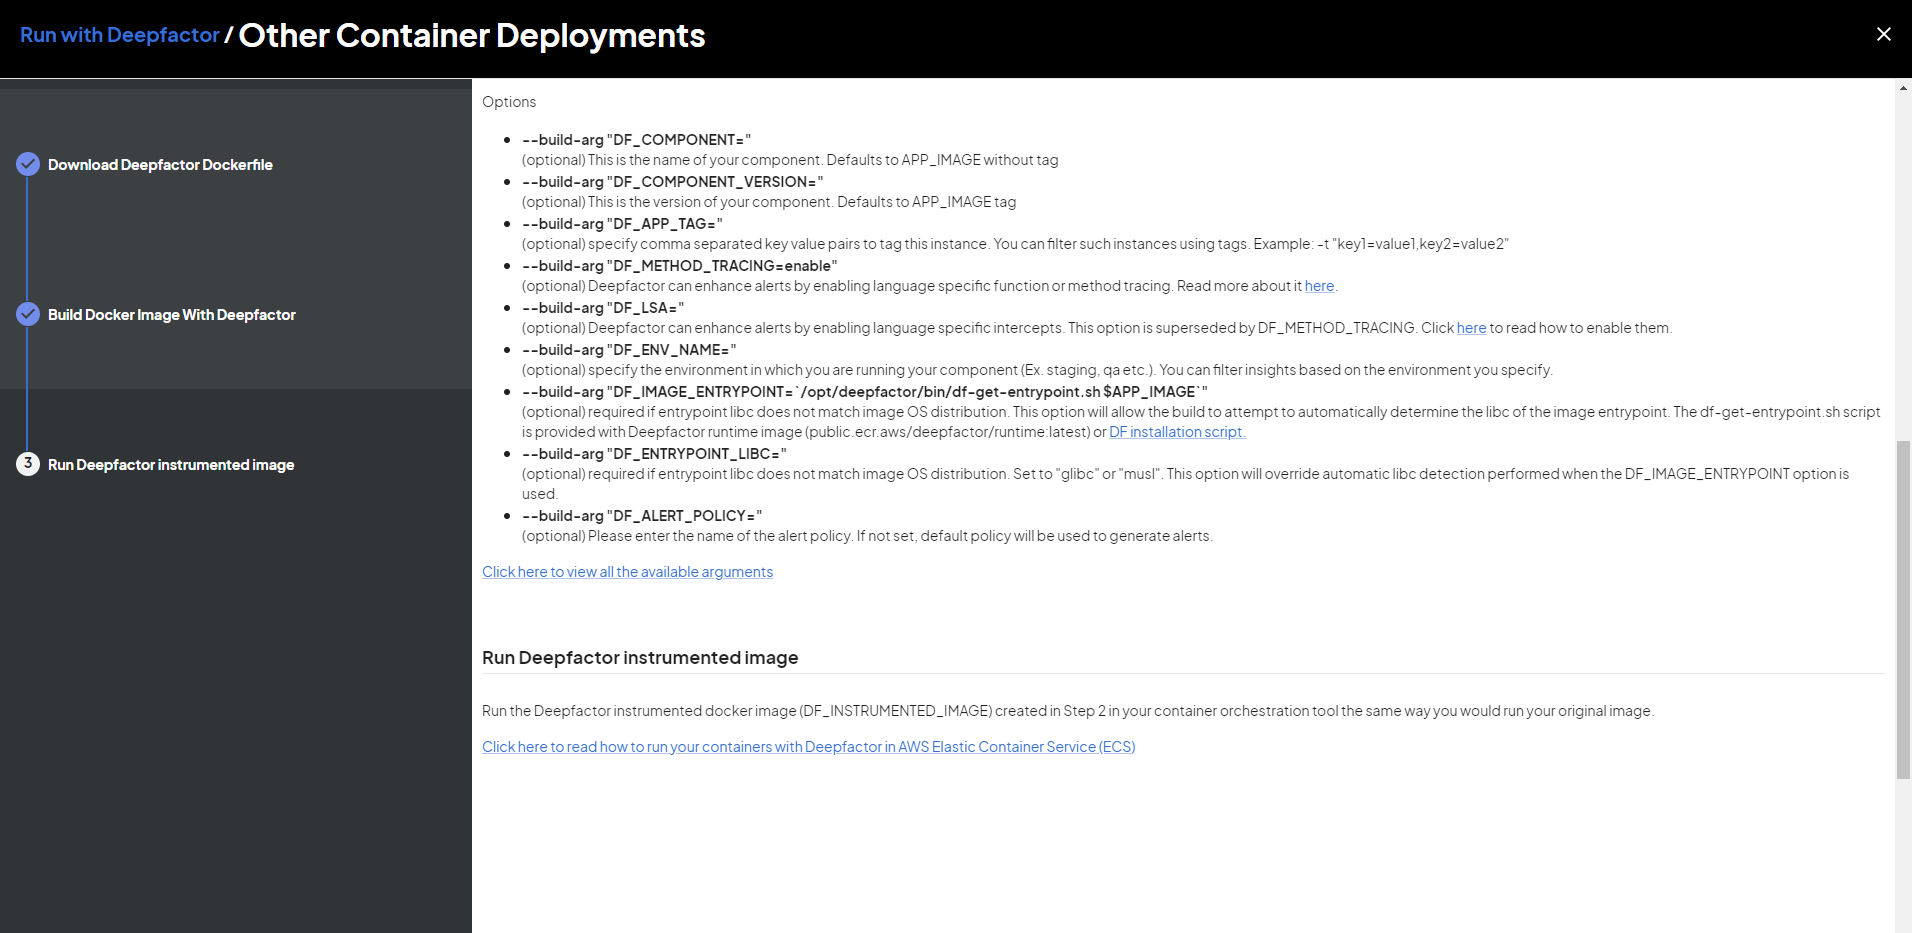
Options:
- –build-arg “DF_COMPONENT=”:(optional) This is the name of your component. Defaults to APP_IMAGE without tag
- –build-arg “DF_COMPONENT_VERSION=”:(optional) This is the version of your component. Defaults to APP_IMAGE tag
- –build-arg “DF_STACK_TRACES=disable”: (optional) Stack traces are enabled by default. This option is to disable stack traces.
- –build-arg “DF_USAGE_TRACKING=disable” (optional) For java applications, Deepfactor injects a jvmti agent to intercept class loaded events and provides the list of classes used within each jar. You can disable this intercept by passing this option. Usage tracking for other programming language dependencies is always enabled irrespective of this option as it doesn’t add any additional overhead.
- –build-arg “DF_ENV_NAME=”:(optional) specify the environment in which you are running your component (Ex. staging, qa etc.). You can filter insights based on the environment you specify.
- –build-arg “DF_ALERT_POLICY=”:(optional) Please enter the name of the alert policy. If not set, the default policy will be used to generate alerts.

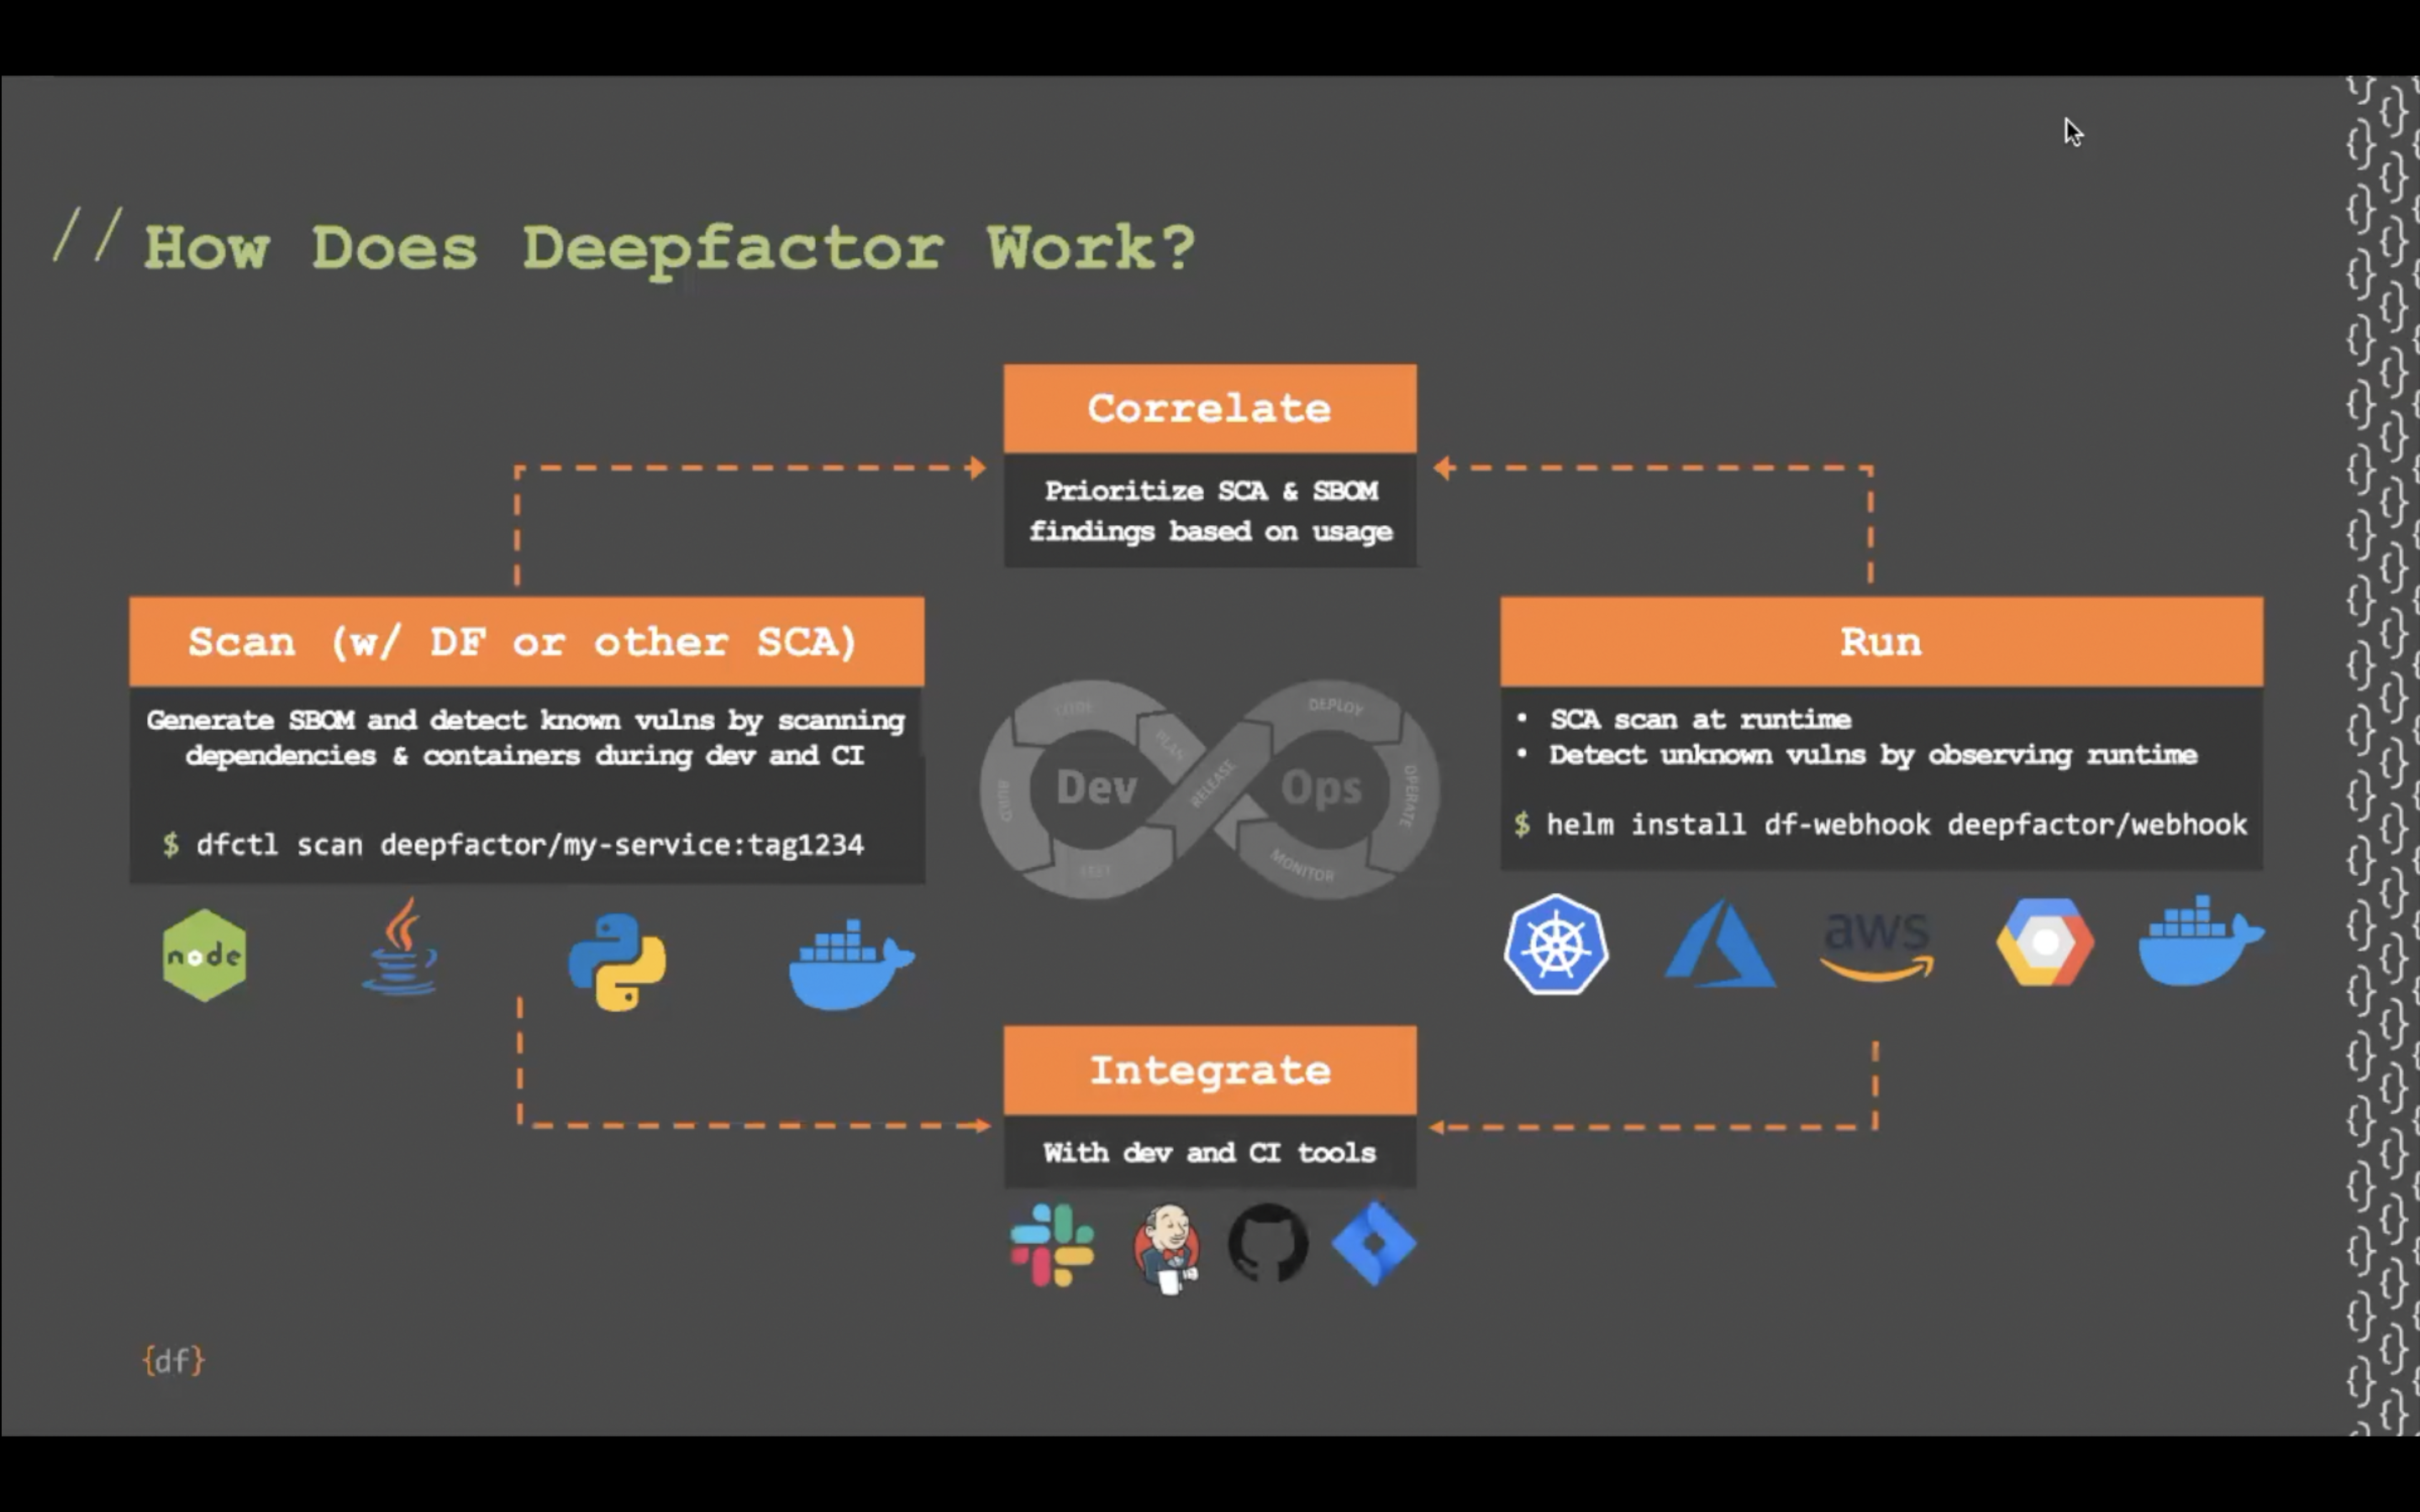
Note: We recommend scanning the uninstrumented container image with Deepfactor scanner which will generate SBOM and find SCA vulnerabilities. Deepfactor will automatically correlate these findings with your running application and show a combined view on the portal UI. Refer to dfctl scan document for how to scan your image with Deepfactor.
Step 3: Run the Deepfactor enabled Docker image #
docker run DF_INSTRUMENTED_IMAGE
Where:
- DF_INSTRUMENTED_IMAGE is the name of the Deepfactor instrumented docker image
Use the same command as you would to run your original docker container, but use the Deepfactor enabled docker image we created in Step 2.
Note: Applications could see a performance impact when run with Deepfactor since stack traces are enabled by default.


