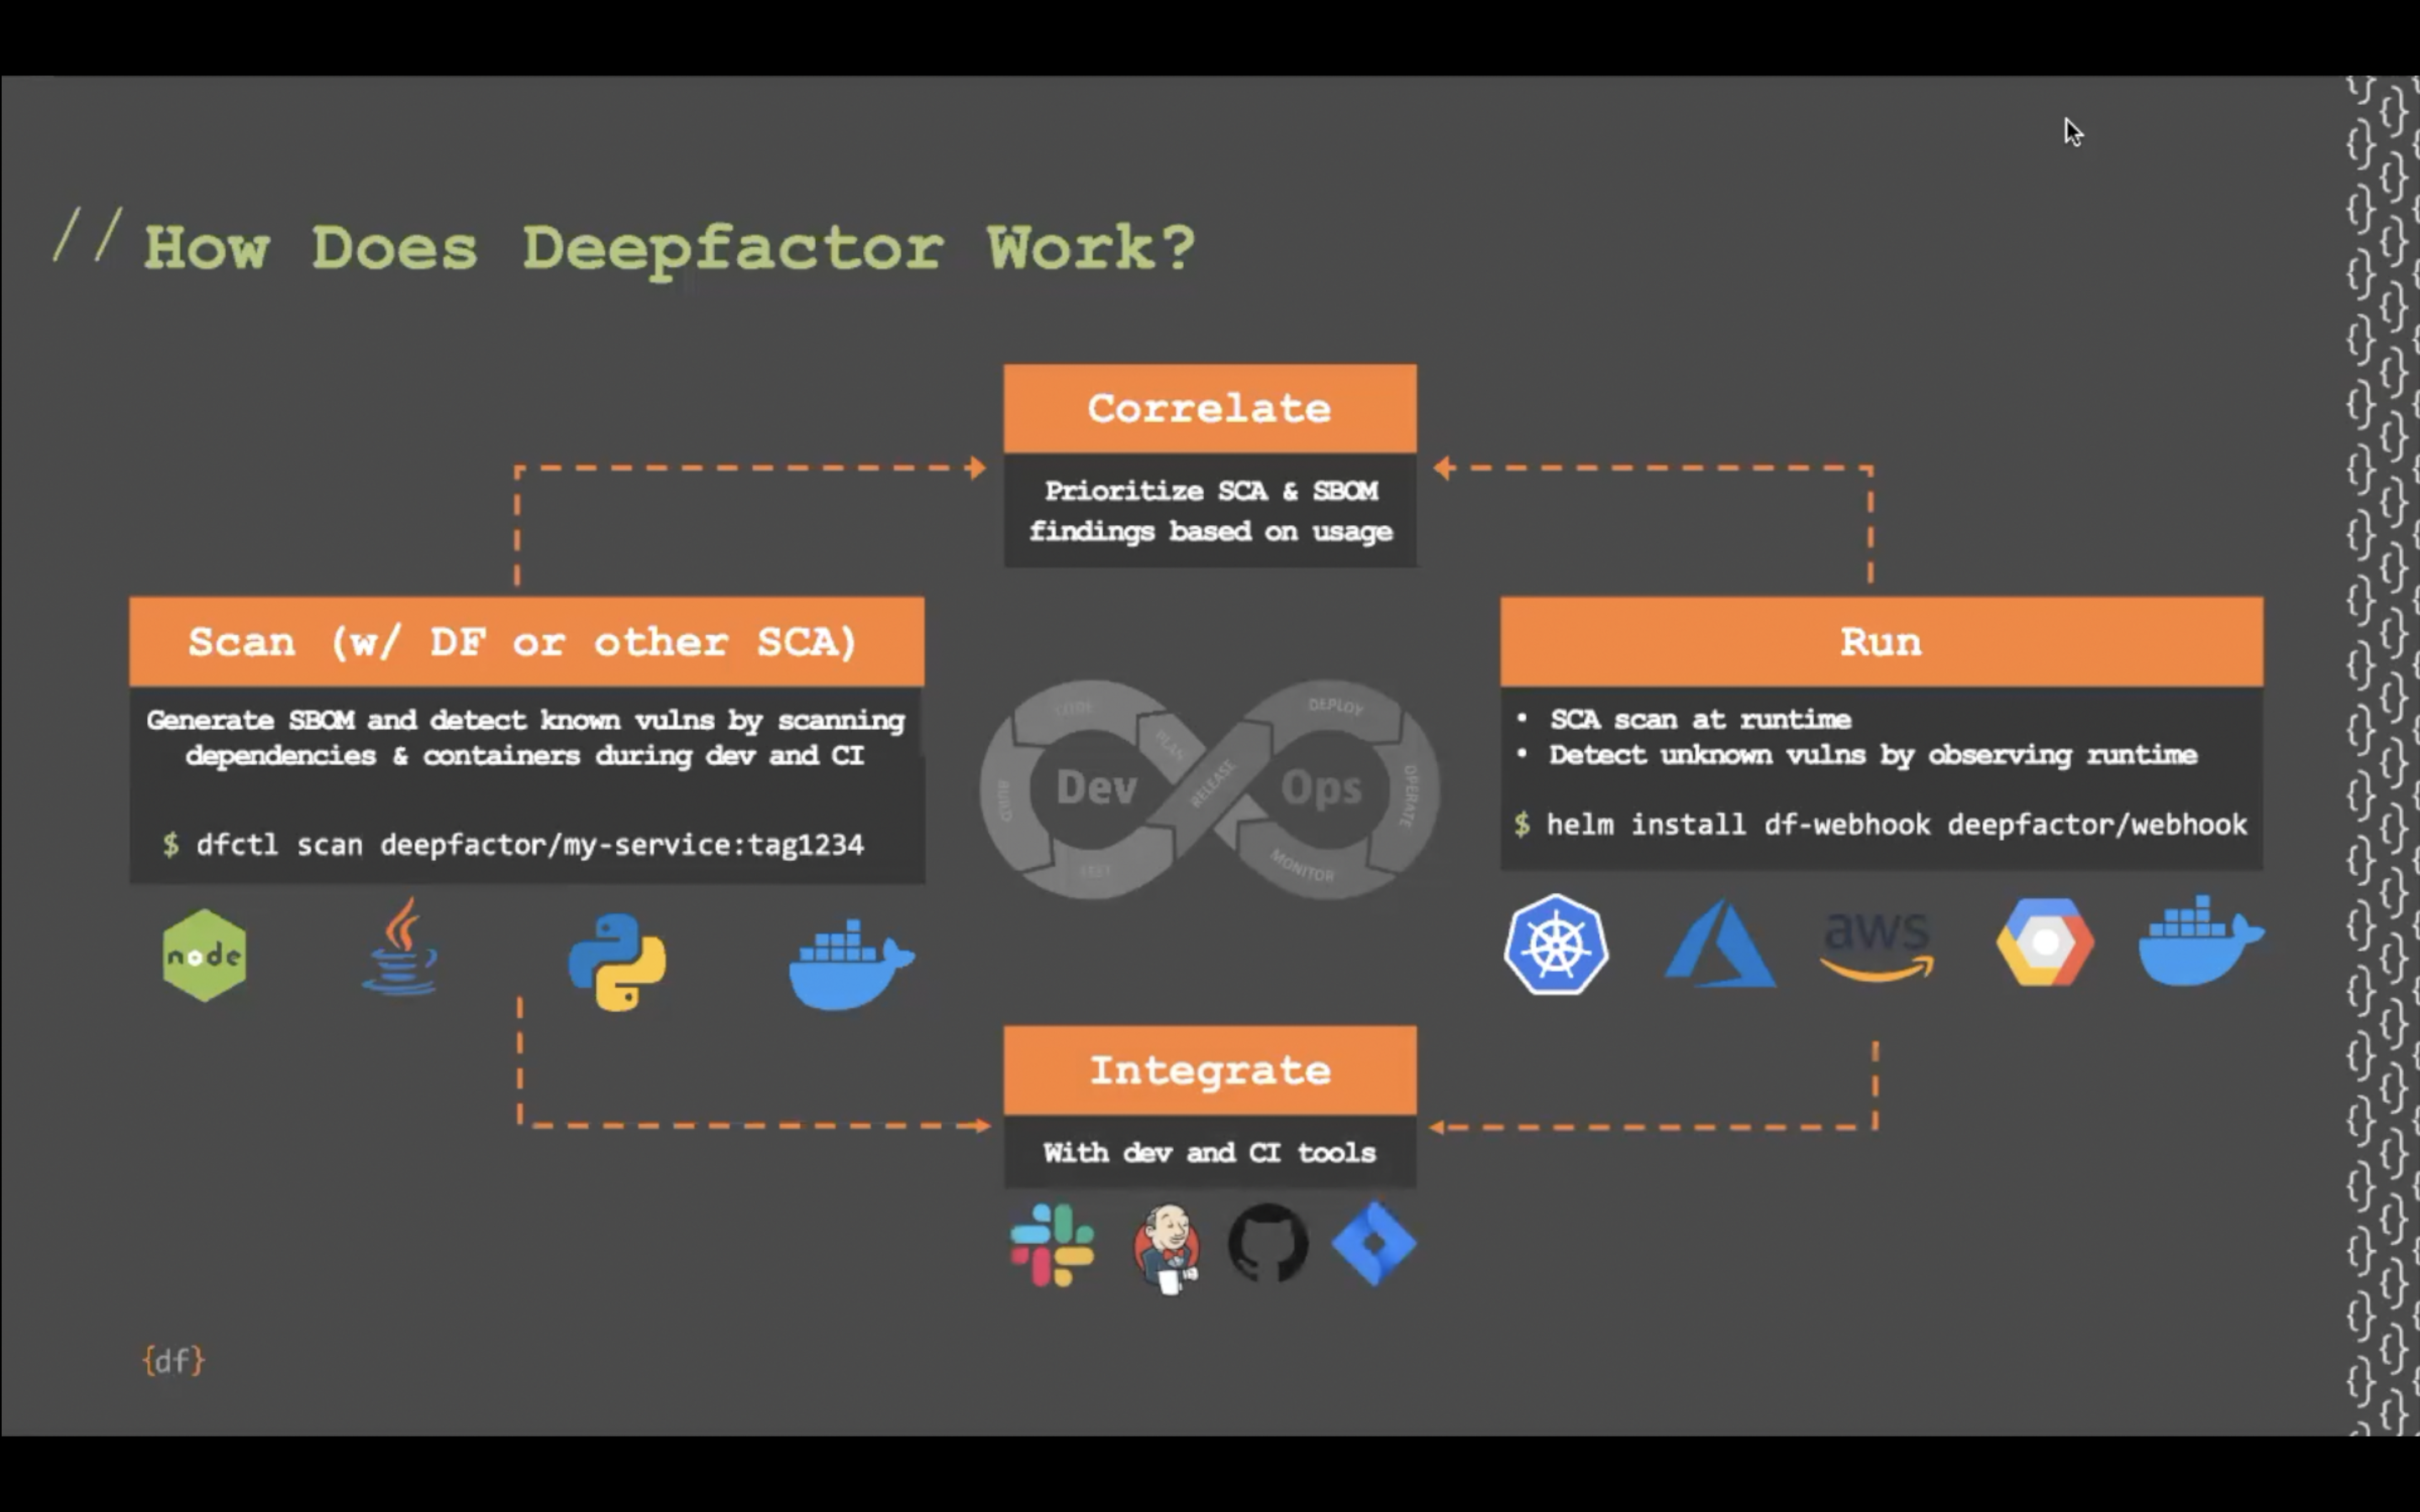
Deepfactor enable users to instrument their Kubernetes workload without the need to change their kubernetes pod/deployment yaml files. You can read more about how to enable the webhook for your K8s cluster in the article below.
Run your Kubernetes workload with Deepfactor
Users can also select the pods that should be run with Deepfactor enabled by using the fine grained options provided in the webhook config. You can read more about how to select the pods for Deepfactor instrumentation in the article below.
Selecting the pods you want to run with Deepfactor
Grouping pods into an application #
Different enterprises deploy and run their application pods differently in their kubernetes clusters.
A few common scenarios are
- All pods belonging to an application are deployed exclusively in a single namespace
- Pods belonging to an application are spread across multiple namespaces but have the same label value (ex. app=myapp)
- Same pods are running in multiple clusters but you would like to view the findings per cluster
Deepfactor mutating admission webhook provides the Application Name config option to support the various use cases. Deepfactor Config options can be set at cluster level and also overriden per namespace if you would like to customize the behavior of Deepfactor in particular namespaces.
This option can be set to a literal string or a templatized string which takes the following variables
- clusterName
- namespace
- podName
- labels.x (the value of the label ‘x’ in the podspec)
With this capability, users can pick the pods that should be grouped into a single application. A few common examples are covered in the table below.
| Option value | Description | When to use |
| %podName% (Default) |
Every pod will be shown as a separate application. All pods running with the same podName in all namespaces within the cluster will be mapped to the same application. You can filter based on the namespace on the Deepfactor portal UI. Example: If a pod with the name ‘user-service’ is running in two namespaces ‘dev’ and ‘staging’, a single application named ‘user-service’ will be shown in the UI and namespace filter dropdown will have the options ‘dev’ and ‘staging’ |
– You have a monolith running as a pod OR you want to view individual microservices as separate applications on the Deepfactor portal UI.
– You are running the same pod in multiple namespaces but want to view the insights from the pod in all namespaces in a single application |
| %namespace% | All containers running with Deepfactor in pods within the namespace will be grouped into a single application with the namespace being the name of the application
Example: If you have two namespaces, ‘publicapp’ and ‘privatetool’ running 15 and 10 containers respectively, you will see two applications ‘publicapp’ and ‘privatetool’ on the Deepfactor portal UI with 15 and 10 components respectively |
– You run all pods related to a single application in an exclusive namespace.
– You have less than 20 pod containers in your namespaces We do not recommend using this mode for namespaces that have pods from different applications or for namespaces that have more than 20 containers. |
| %clusterName%-%podName% | Every pod running in every cluster will be shown as a separate application.
Example: If pod with name ‘user-service’ is running in two different clusters ‘dev’ and ‘staging’, two applications named ‘dev-user-service’ and ‘staging-user-service’ will be shown in the UI |
– You are running the same pod in multiple clusters but would like to view their insights separately. |
| %podName%-%namespace% | Every pod running in every namespace will be shown as a separate application.
Example: If pod with name ‘user-service’ is running in two namespaces ‘dev’ and ‘staging’, two applications named ‘user-service-dev’ and ‘user-service-staging’ will be shown in the UI |
– You have a monolith running as a pod OR you want to view individual microservices as separate applications on the Deepfactor portal UI.
– You are running the same pod in multiple namespaces and want to view the insights for the pod running in each namespace in a separate application |
| %labels.x% | All pods that have the same value for label ‘x’ in the podspec will be grouped into a single application.
Example: If 5 pods have the label ‘app=user-service’ in two namespaces ‘dev’ and ‘staging’ and the appName option is set to %labels.app%, then all of these pods will be grouped into an application called ‘user-service’ and namespace filter dropdown will have the options ‘dev’ and ‘staging’ |
– You add a specific label to all the pods that belong to a single application.
– You want to see the insights of such pods running across different namespaces in a single application. |
| %labels.x%-%namespace% | All pods that have the same value for label ‘x’ in the podspec will be grouped into a single application per namespace.
Example: If 5 pods have the label ‘app=user-service’ in two namespaces ‘dev’ and ‘staging’ and the appName option is set to %labels.app%, then you will see two applications on the UI: ‘user-service-dev’ and ‘user-service-staging’ |
– You add a specific label to all the pods that belong to a single application.
– You want to see the insights of such pods running across different namespaces as different applications on the Deepfactor portal UI |
Note: You can use a combination of string literals and variables. Example: myapp-%labels.x%-%namespace%
Composing component names for containers #
The previous section described the ways to group pods into an application for the different use cases. This section will describe how you can specify the name for the containers running within the pods.
Every container that is included for instrumentation by Deepfactor is treated as a separate component within the application. Users have the flexibility to name the components using the Component Name option in the webhook config.
Similar to Application Name option, Component Name option can be set to a literal string or a templatized string which takes the following variables
- namespace
- podName
- containerName
- containerImagePath
- containerImageTag
- labels.x (the value of the label ‘x’ in the podspec)
Note: If you are running multi container pods, then providing at least one of the following three variables in the component name option is mandatory to ensure different containers don’t get assigned the same name.
- containerName
- containerImagePath
- containerImageTag
With this capability, users can pick the names of their choice for the containers running with Deepfactor. A few common examples are covered in the table below.
| Option value | Description | When to use |
| %containerName% (Default) |
The name specified for the container in the podspec will be used for the component name. Example: If a pod has two containers with the names ‘user-service’ and ‘logger’, two components with the same names will be shown on the UI |
You want to see the container name as the name of the component |
| %containerImagePath% | The container image path will be used for the component name
Example: If a pod has two containers with the container image paths as ‘internal.deepfactor.acme.org/user-service:v1.0.0’ and ‘internal.deepfactor.acme.org/transaction-service:v1.0.1’, then two components with the same name will be shown on the UI. |
You want to see the container image path as the component name |
| %namespace%-%podName%-%containerName% | A concatenated string of namespace, podName and containerName will be used as component name.
Example: If a pod has the name ‘user-service’, is running in the ‘dev’ namespace and has two containers with names, ‘springapp’ and ‘logger’, two components with the names, ‘dev-user-service-springapp’ and ‘dev-user-service-logger’ will be shown on the UI |
You would like to see the namespace and pod name along with container name in the component name |
Note: You can use a combination of string literals and variables. Example: component-%namespace%-%podName%-%containerName%
Assigning component version #
This section will describe the Component Version option which can be used to specify the version of the component for every container.
Similar to application name and component name options, component version option can be set to a literal string or a templatized string which takes the following variables
- imageTag
By default, %imageTag% is used for the component version and you can view the image tags in the version filter dropdown on the UI.
Example: Consider the following deployment yaml
apiVersion: apps/v1
kind: Deployment
metadata:
  name: nginx
  labels:
    app: demo-app
spec:
  selector:
    matchLabels:
      app: nginx-server
  template:
    metadata:
      labels:
        app: nginx-server
        logging: info
    spec:
      containers:
      - name: nginx-container
        ports:
        - containerPort: 4000
          image: nginx:1.23.0
Webhook options and the output values are shown below:
| Option | Option value | Output |
| Application Name | “app-%labels.app%” | app-nginx-server |
| Component Name | “comp-%containerName%” | comp-nginx-container |
| Component Version | “%imageTag% | 1.23.0 |

