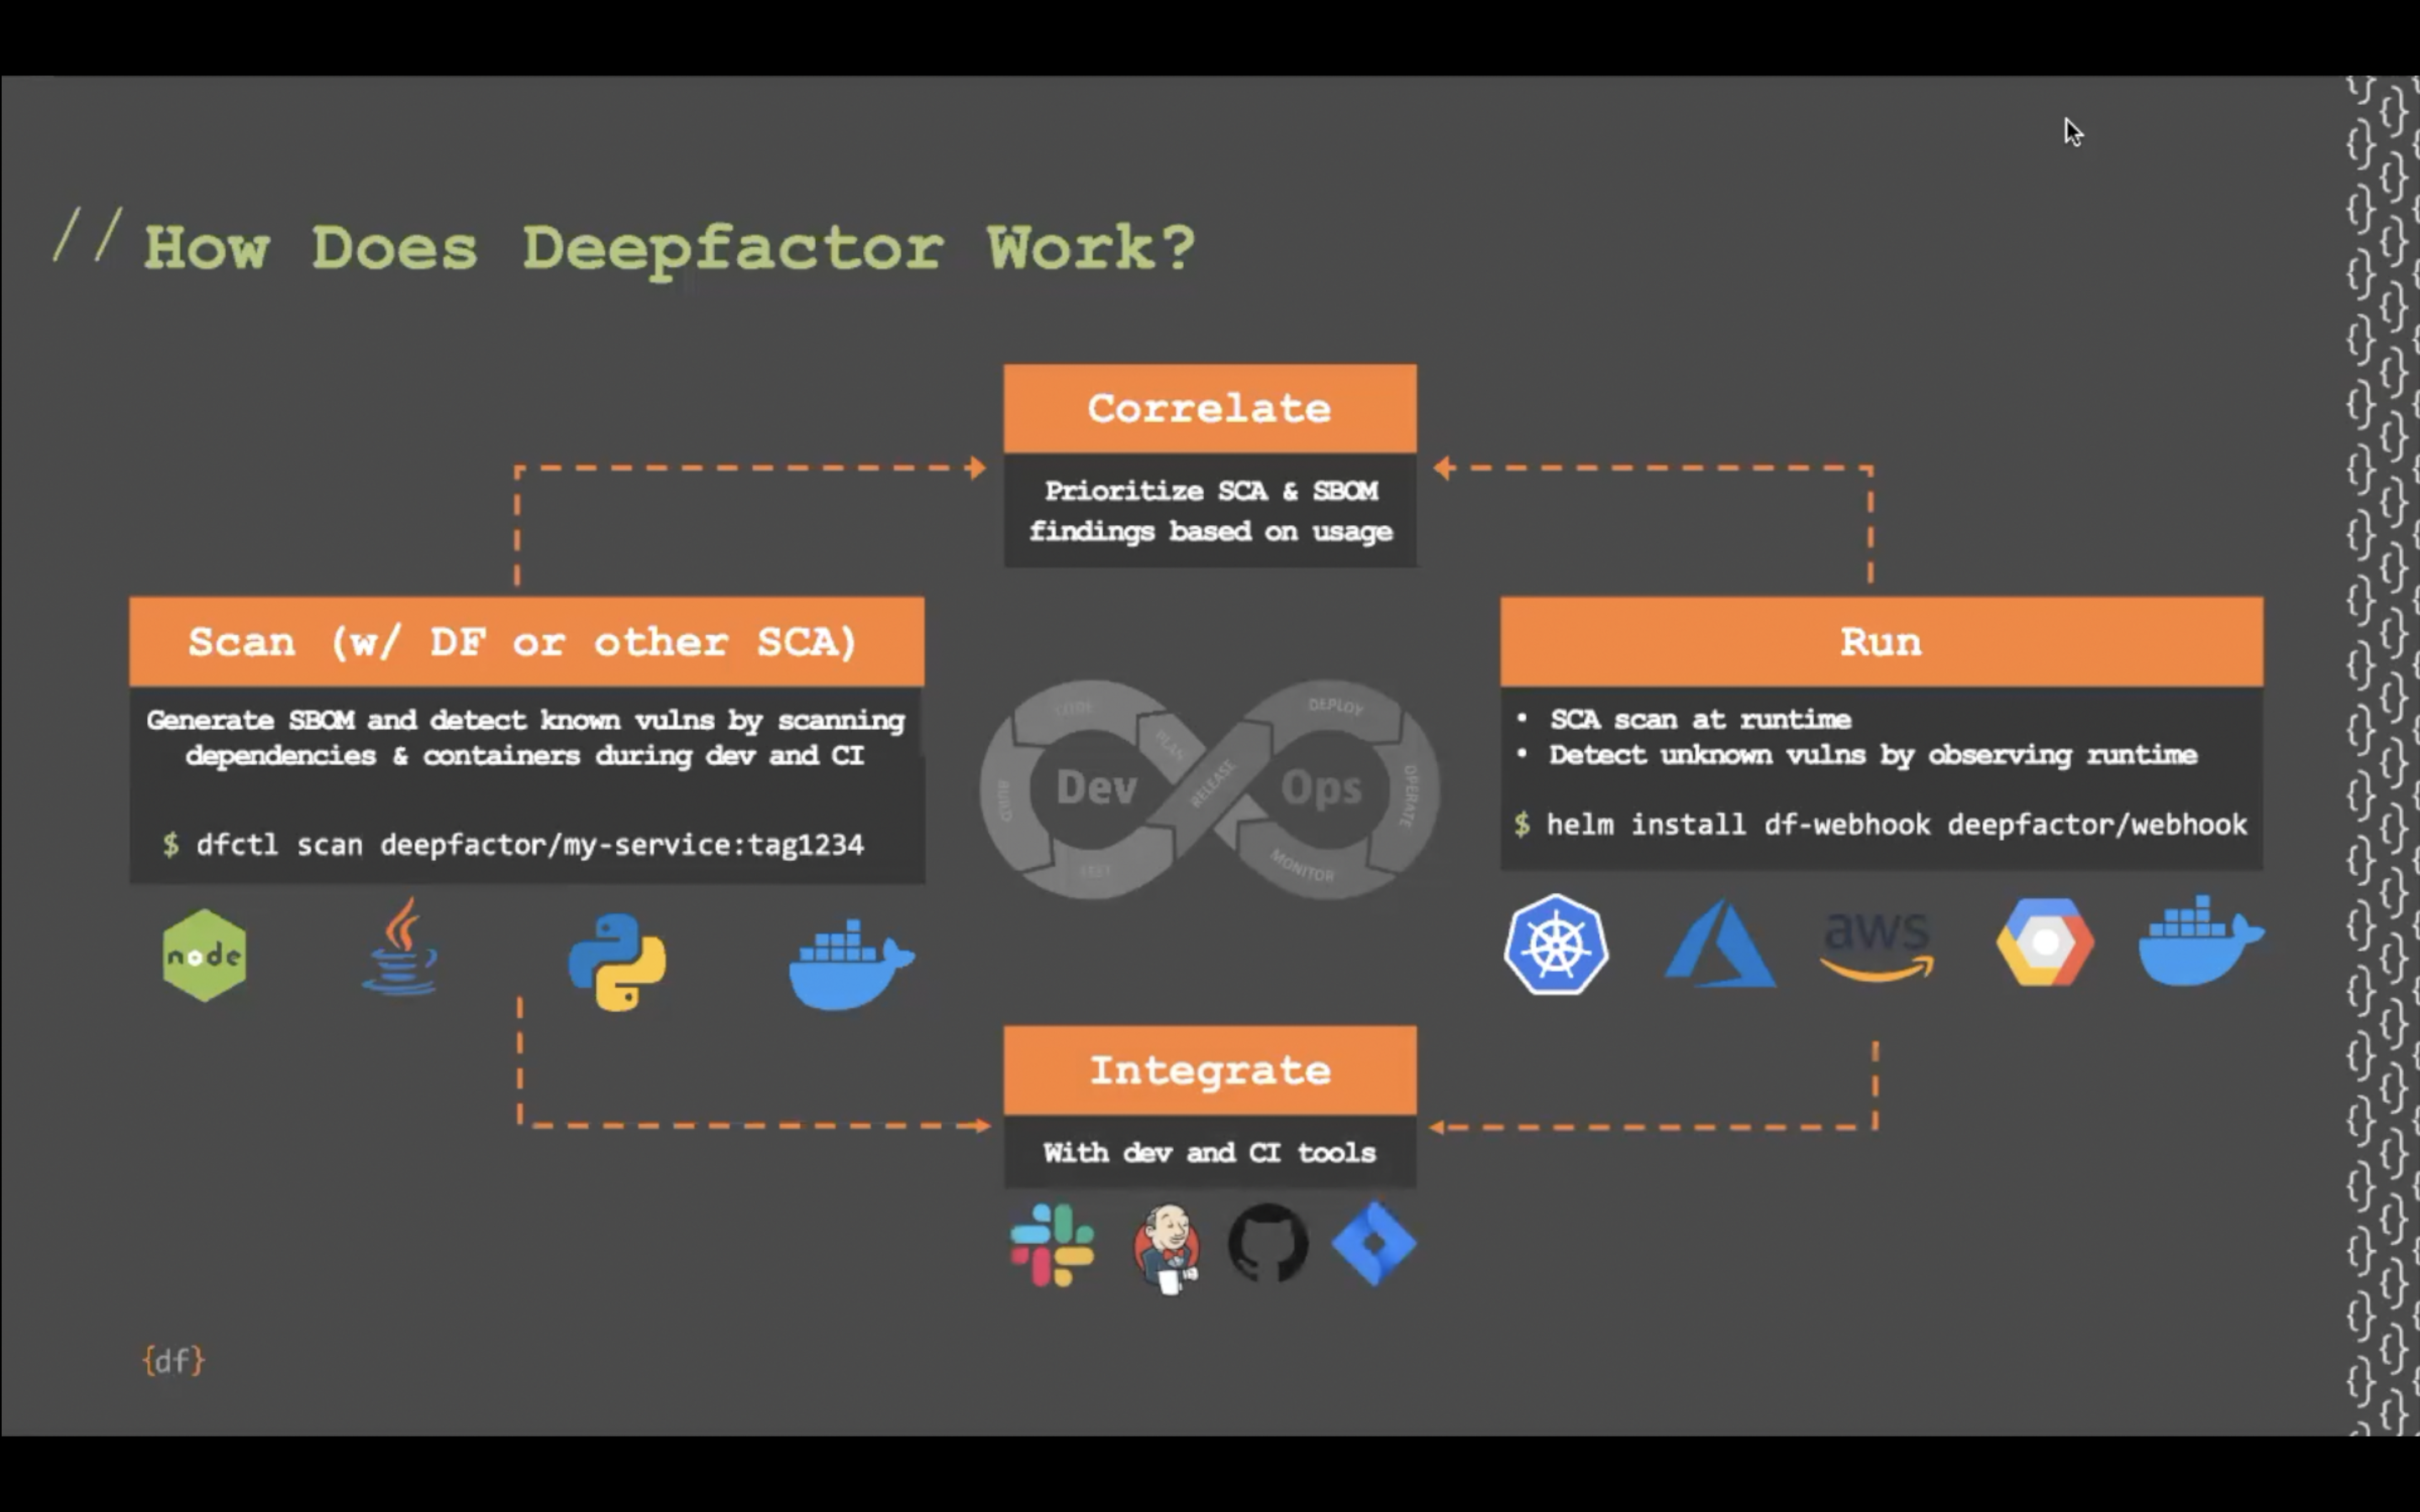
The Deepfactor control panel is available in VMware .OVA format for deployments by following the steps below.
Important Note!
Before you start the deployment, check the prerequisites for VMware vSphere.
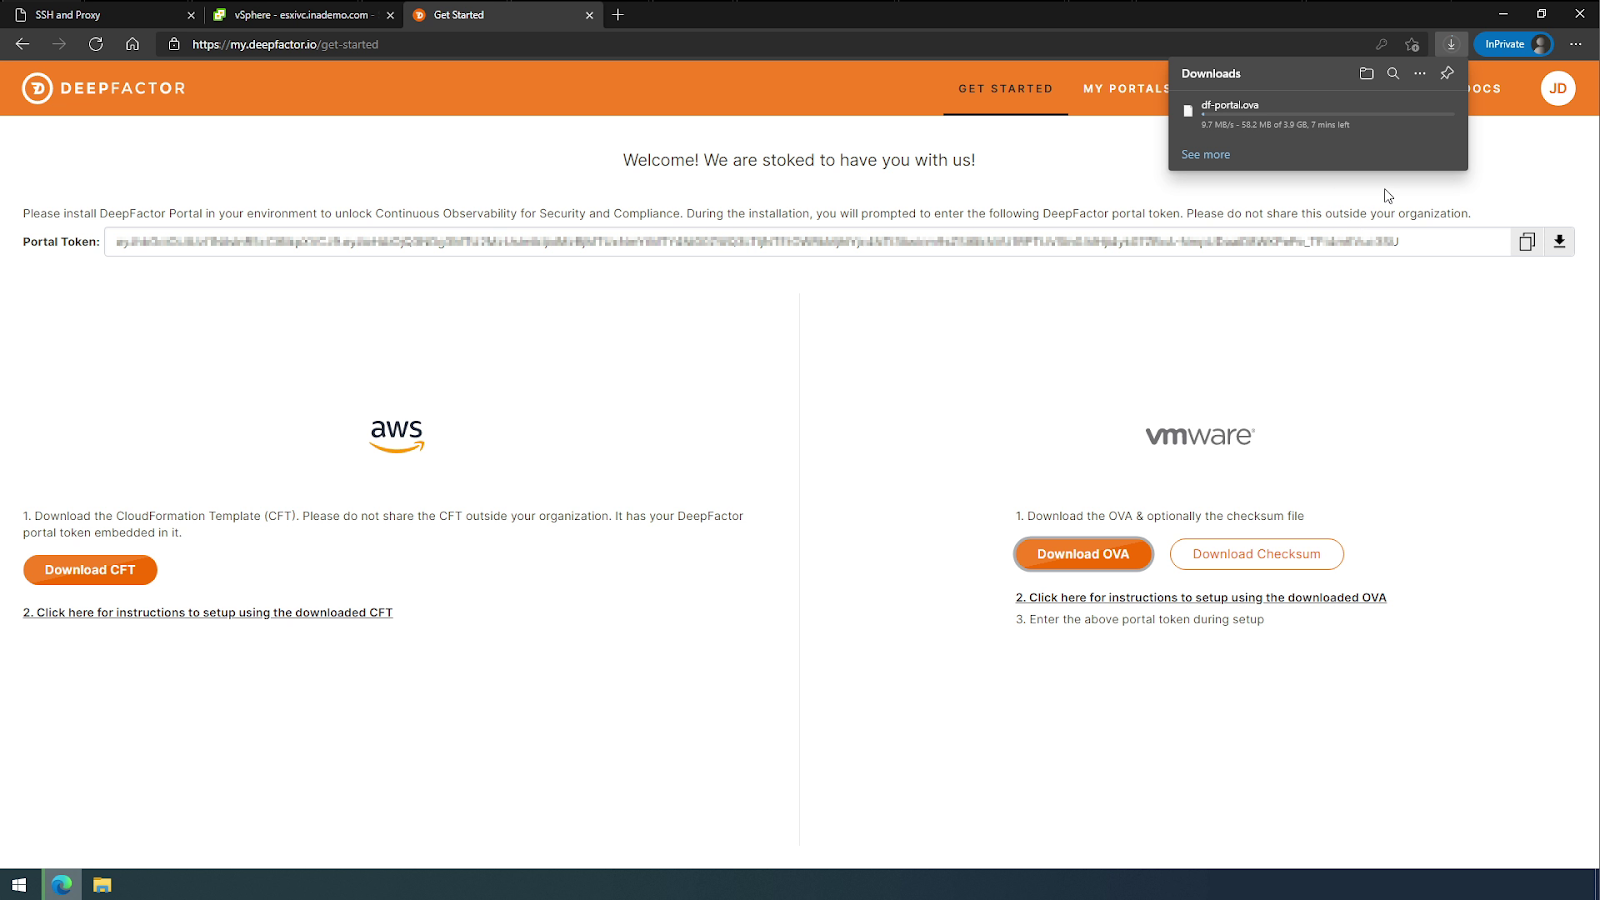
- Register for an account at the Deepfactor website and download the Deepfactor portal .OVA file.
2. Next, open your vSphere client and deploy the .OVA to a VMware cluster. Uploading the .OVA to a vSphere cluster may take some time; if deploying multiple times, you may want to upload the .OVA to a vSphere datastore, and select the datastore as the source location in step 4 below.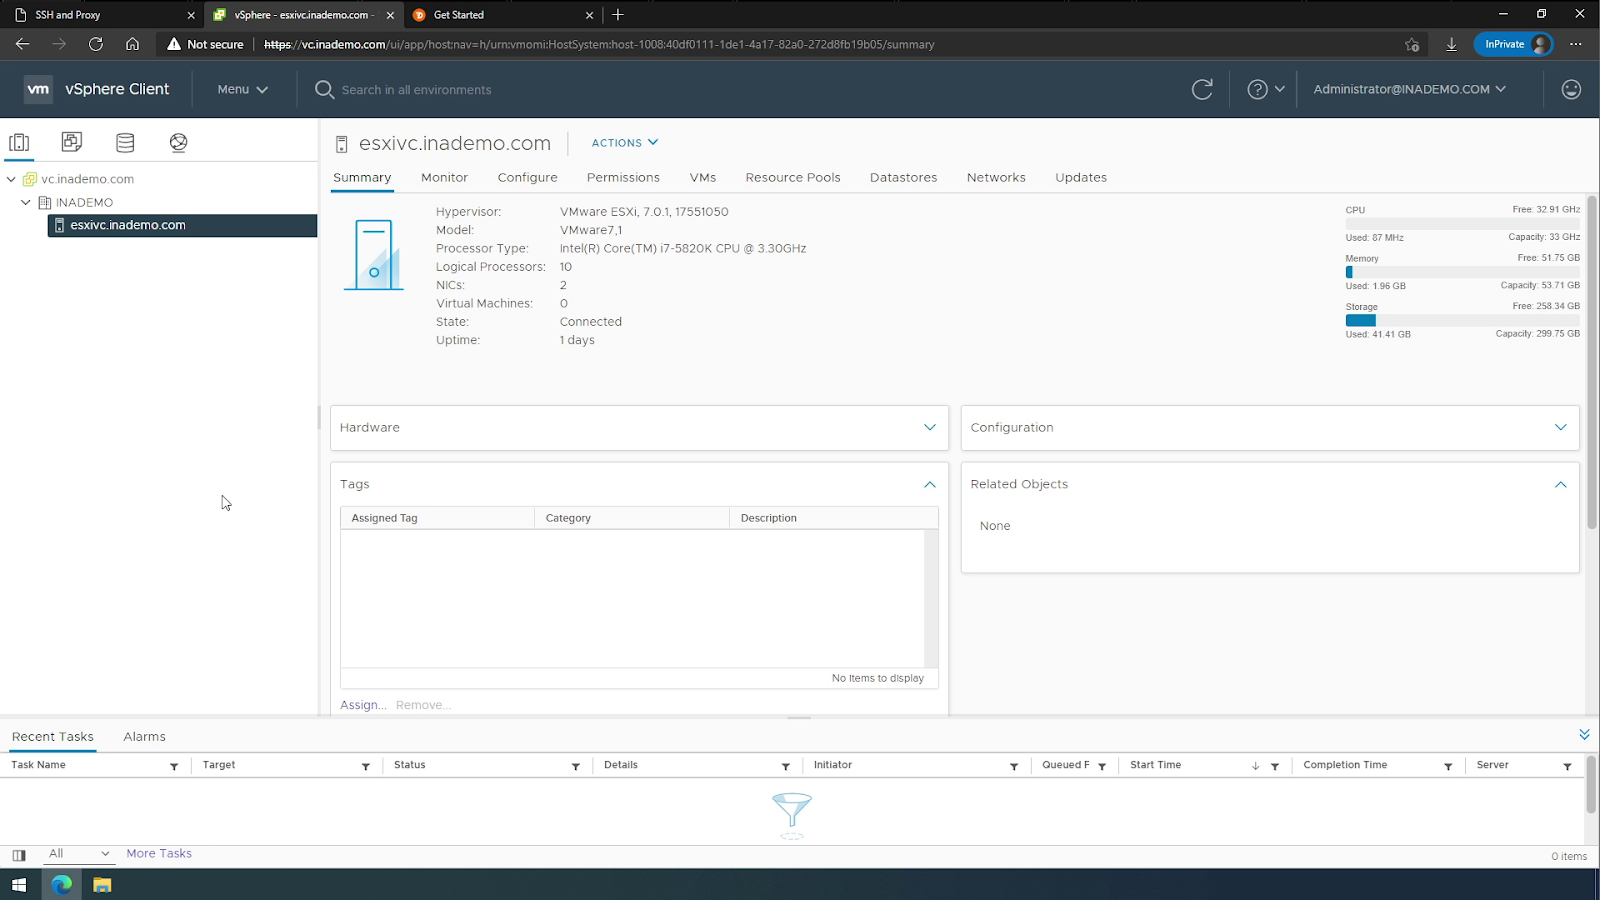
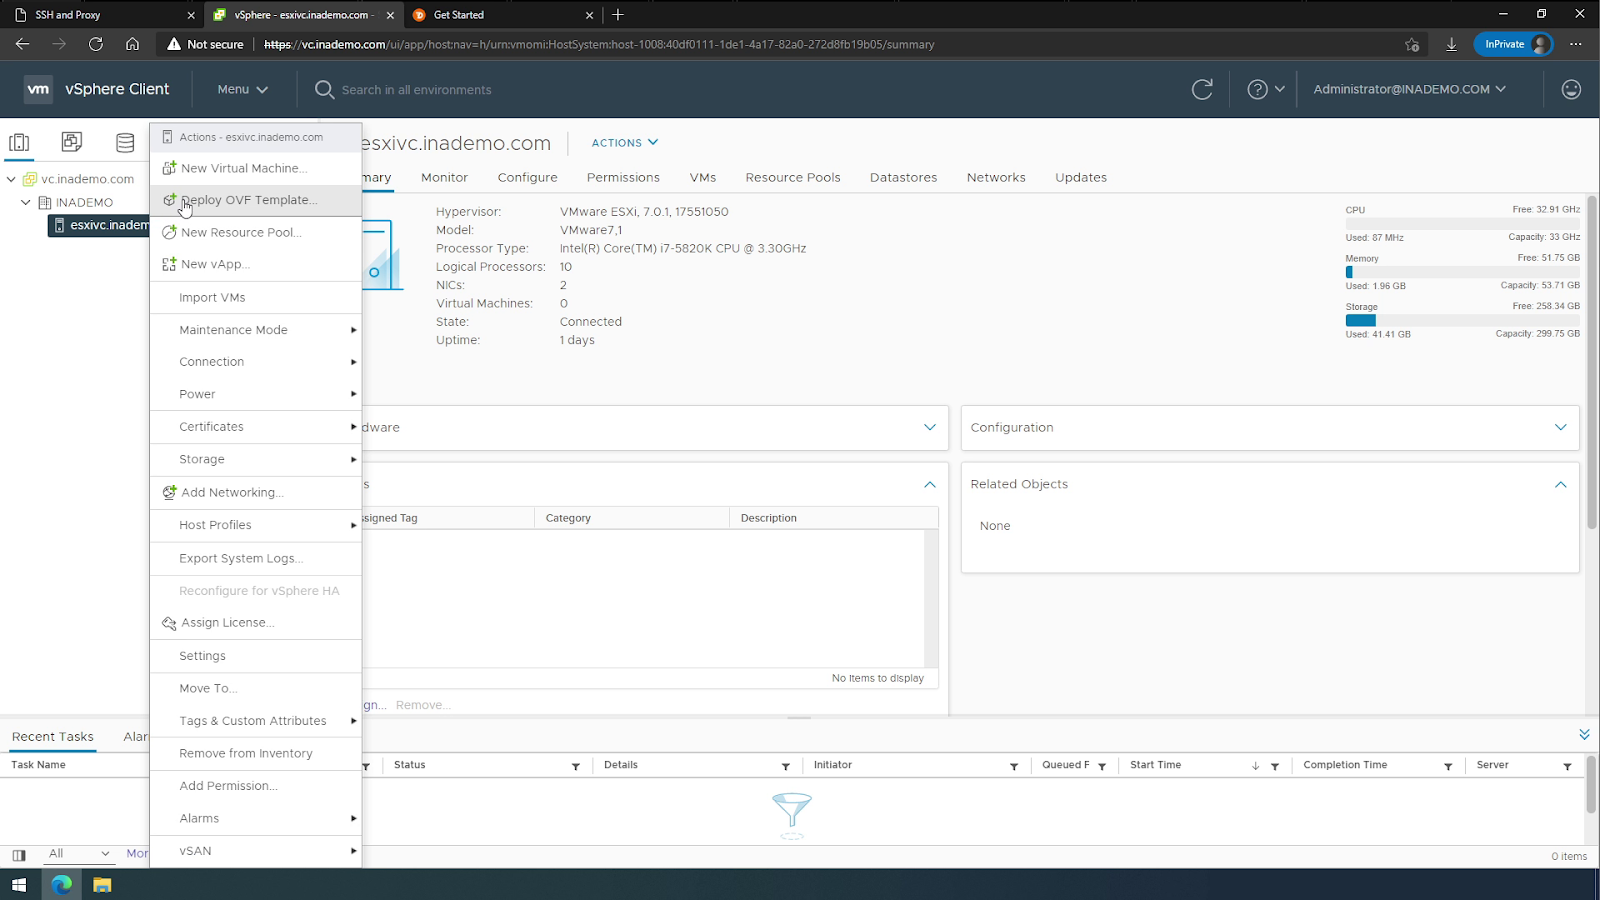
3. After selecting a datacenter or server to deploy to, right click to open the context menu and then select “Deploy OVF template”.
4. Select the OVF template and upload the .OVA file that you downloaded.
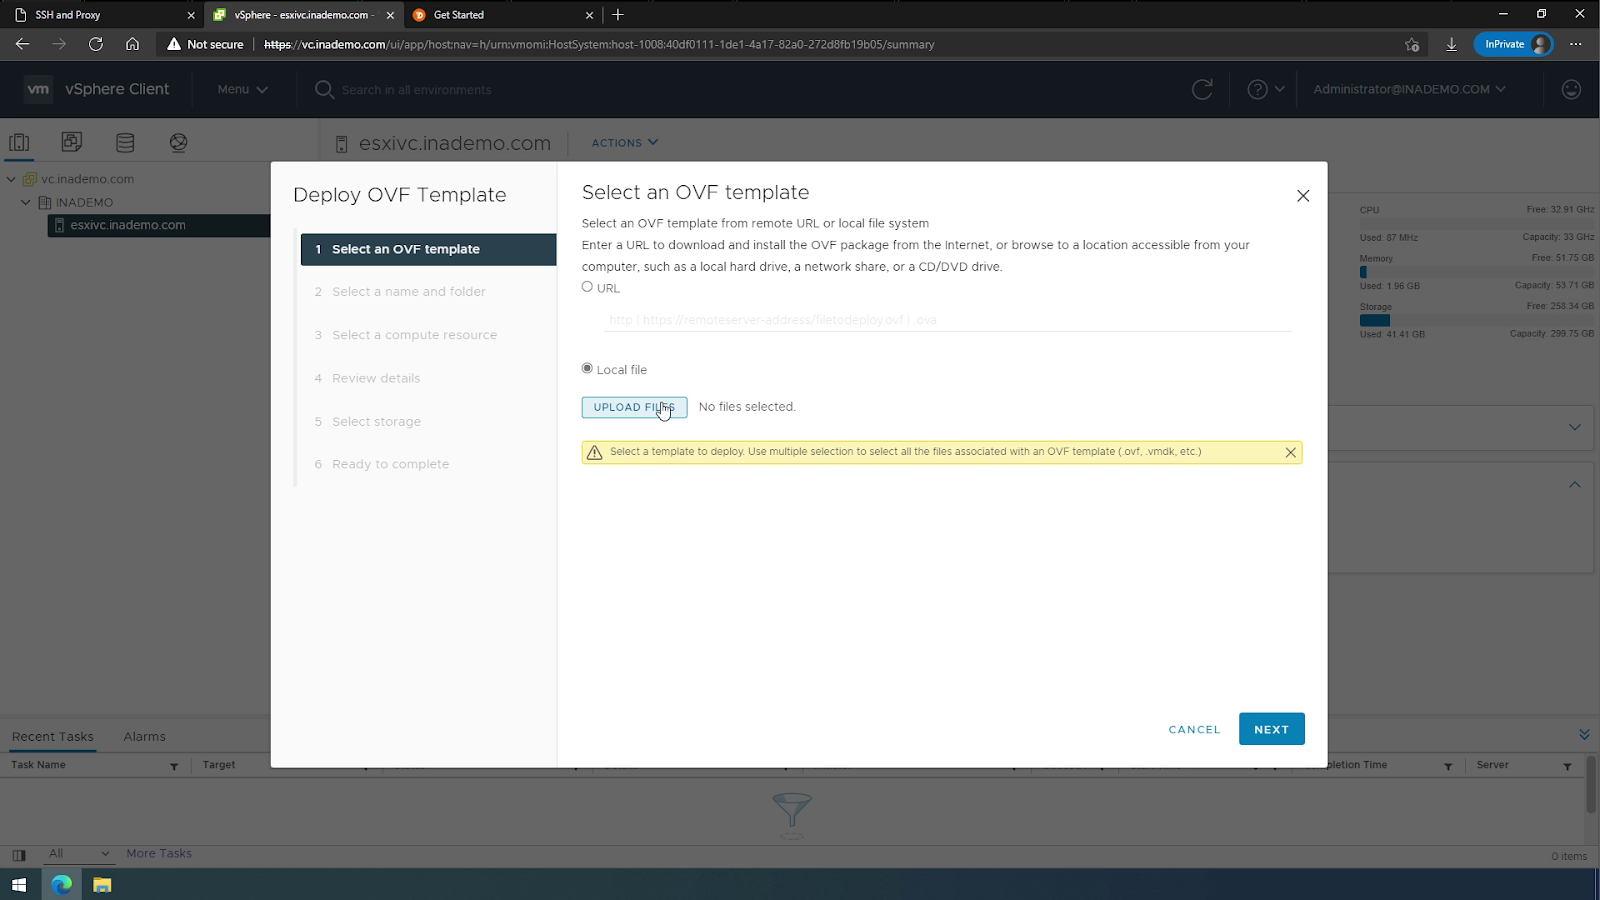

5. Name your Virtual Machine and click Next.
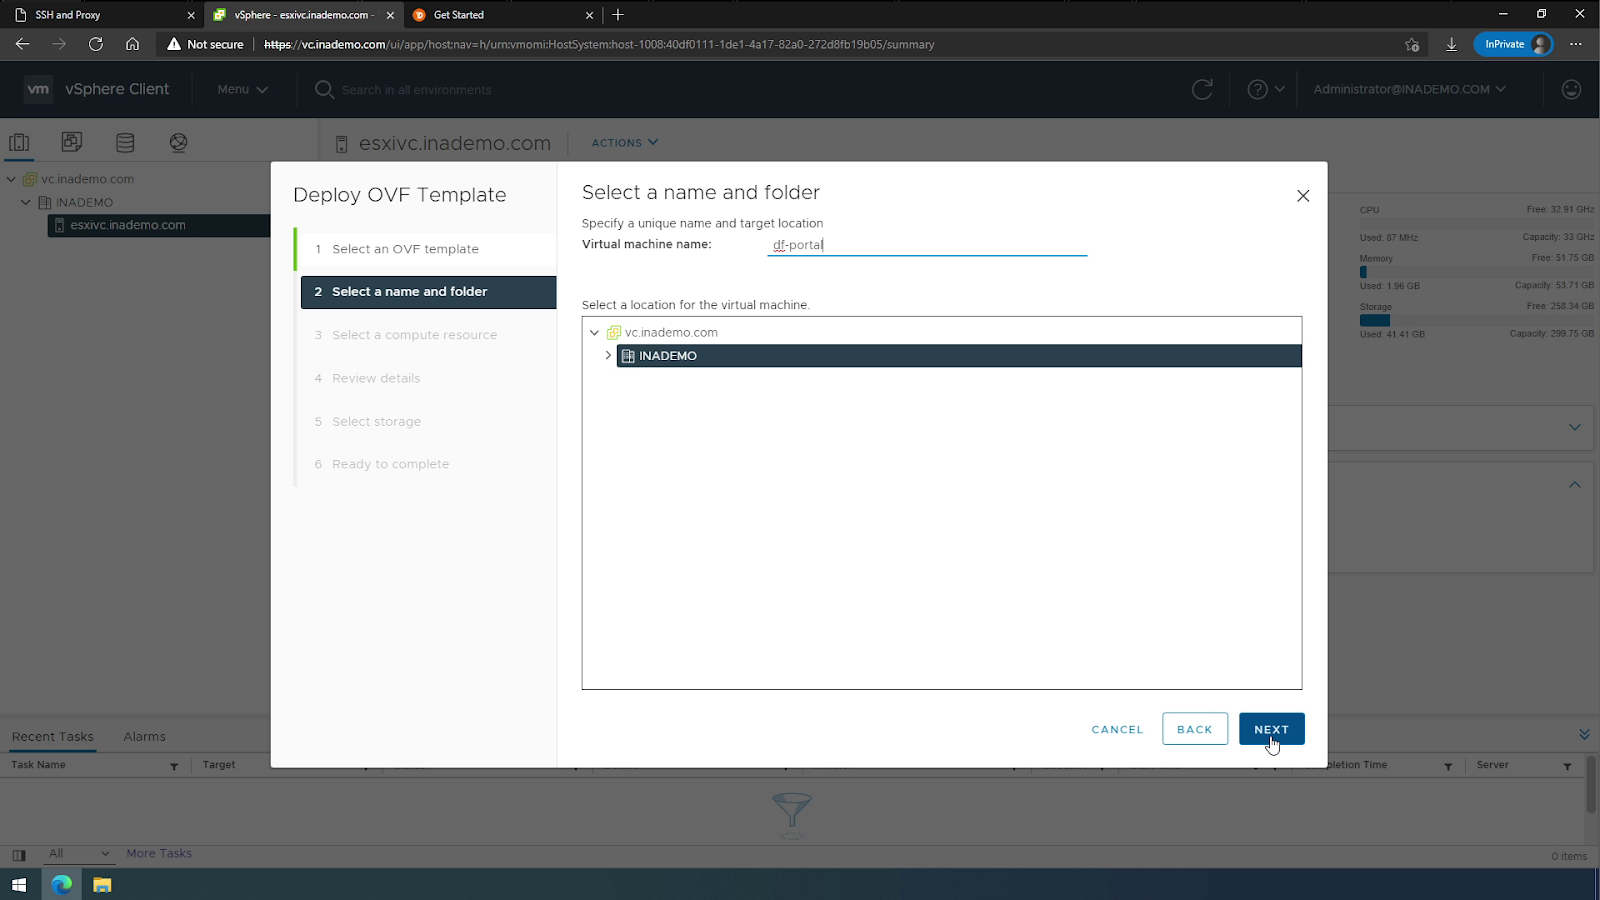
6. Select your compute resource and select Next.
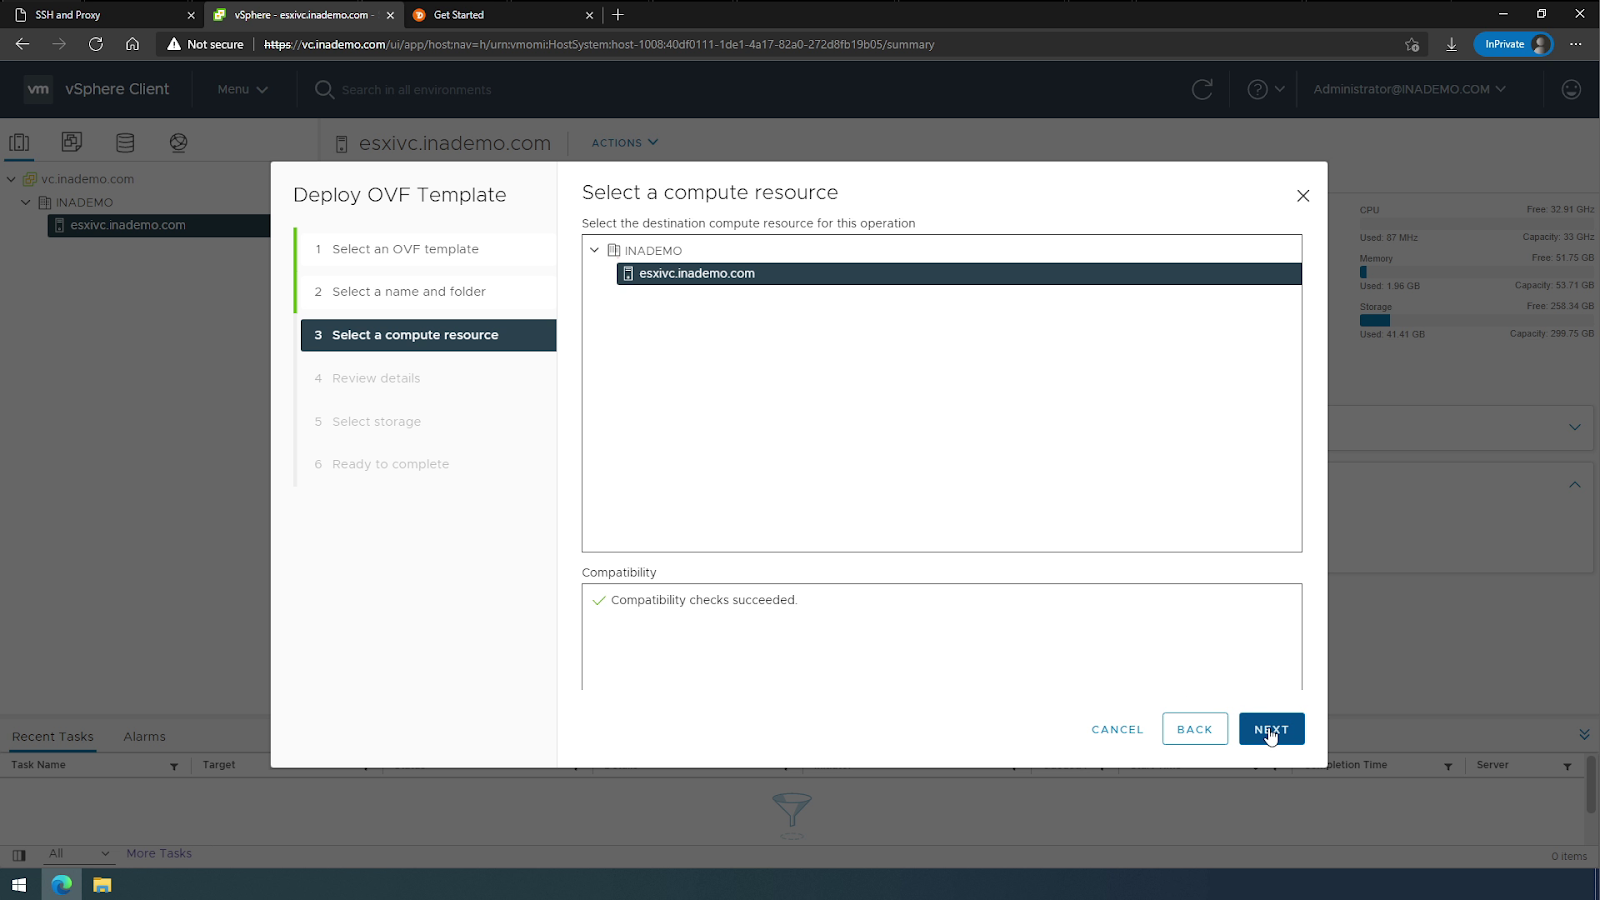
7. Review details and select Next.
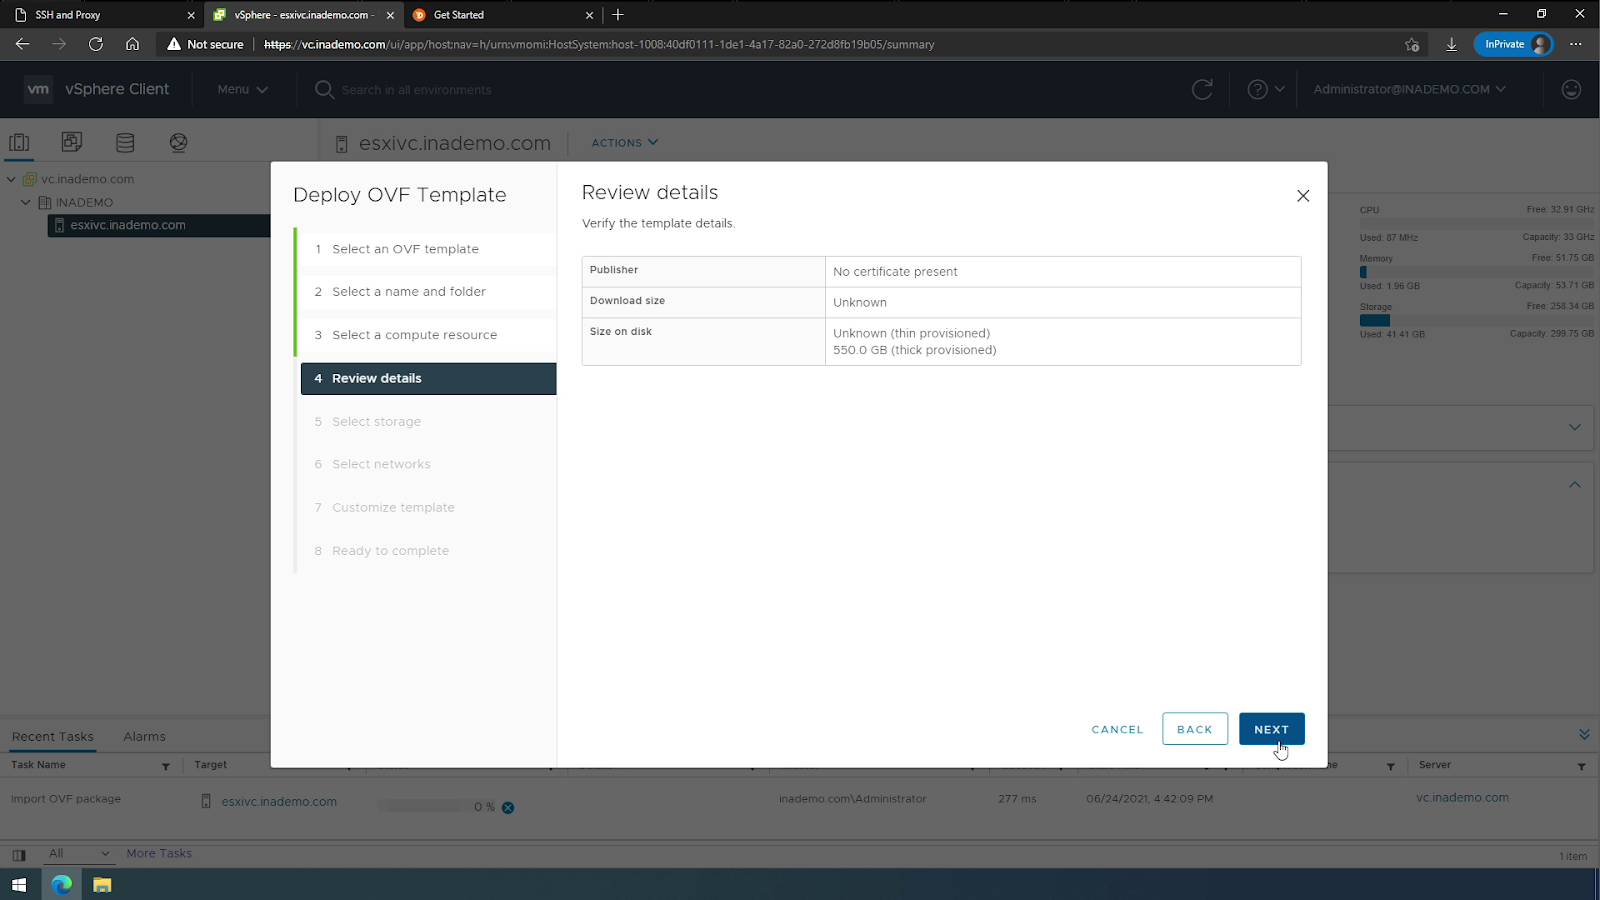
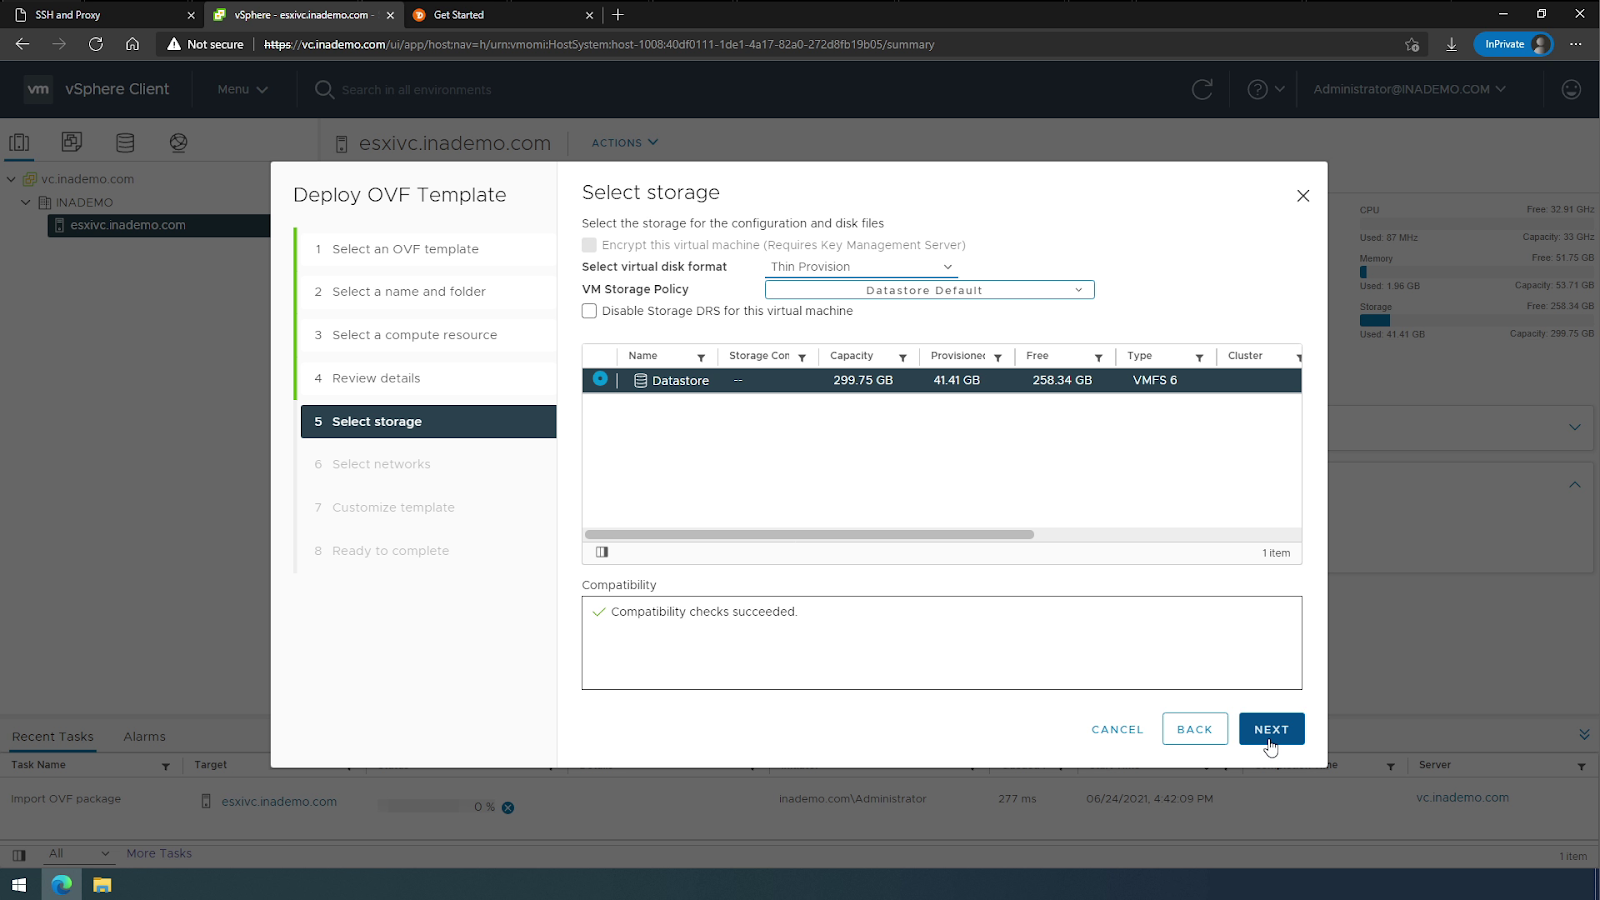
8. Choose your storage target and select Next.
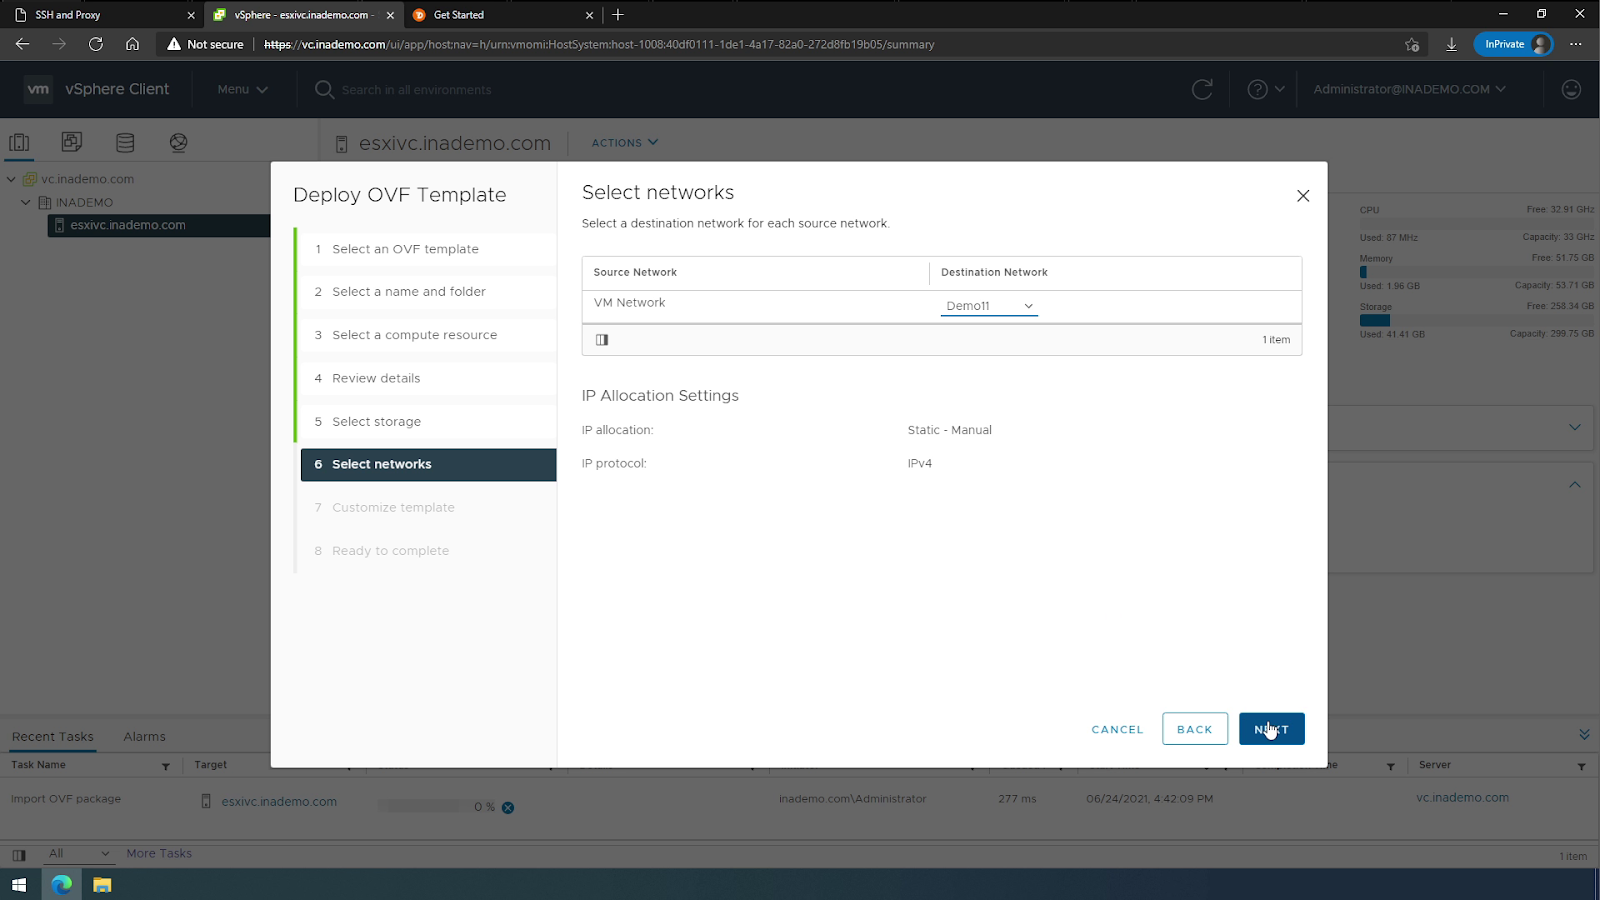
9. Select the network that the Deepfactor management portal should be connected to.
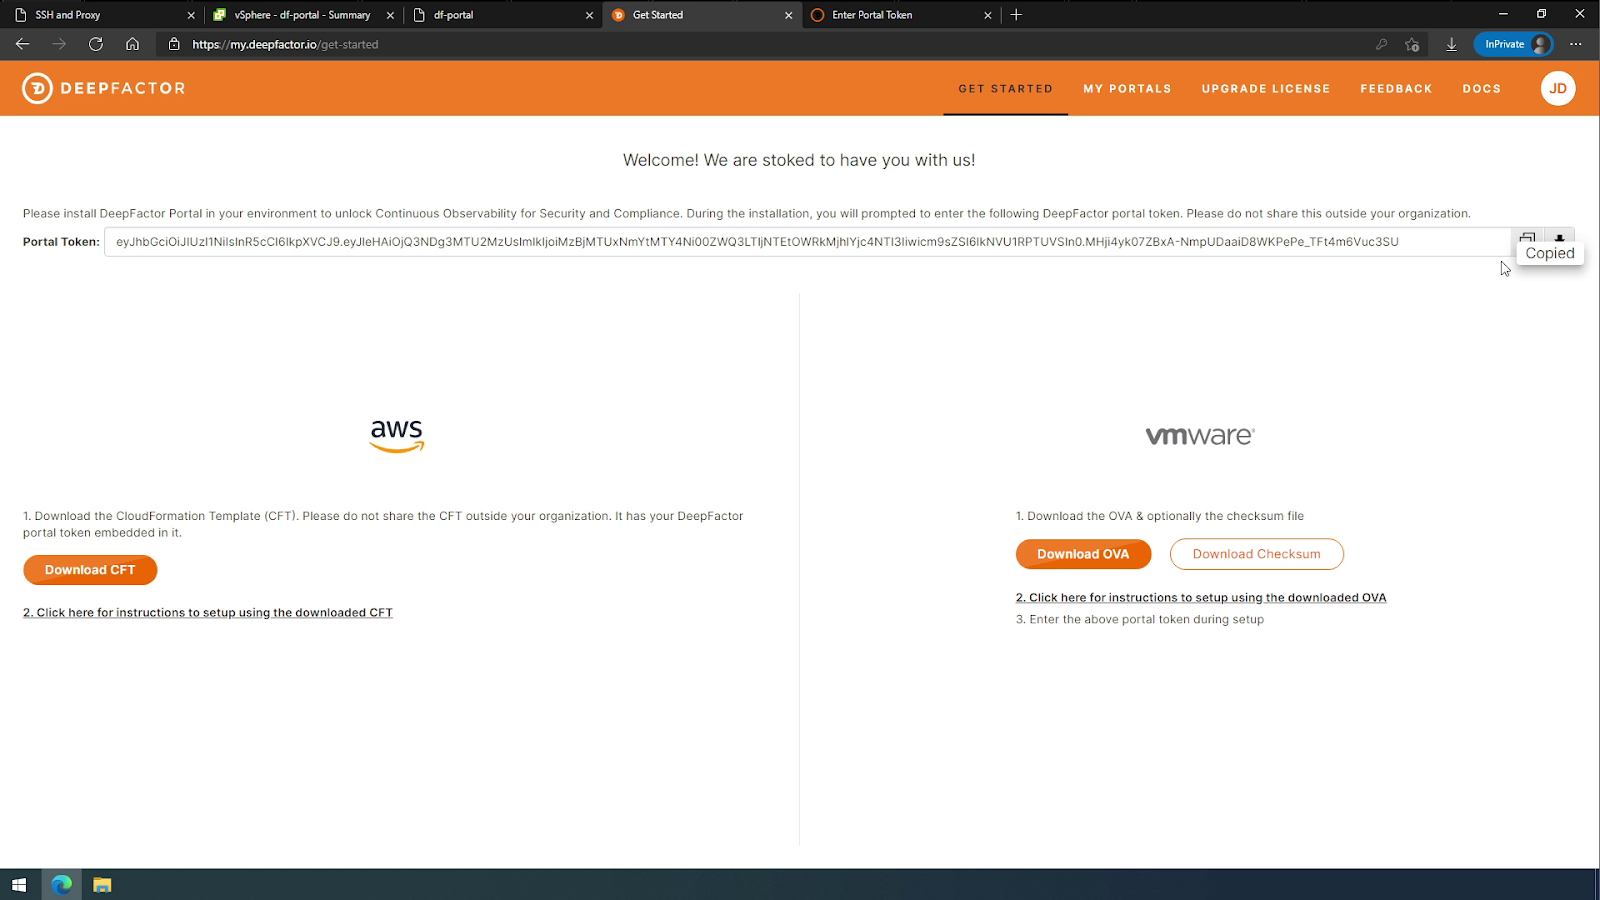
10. Copy the portal token from your registration page.
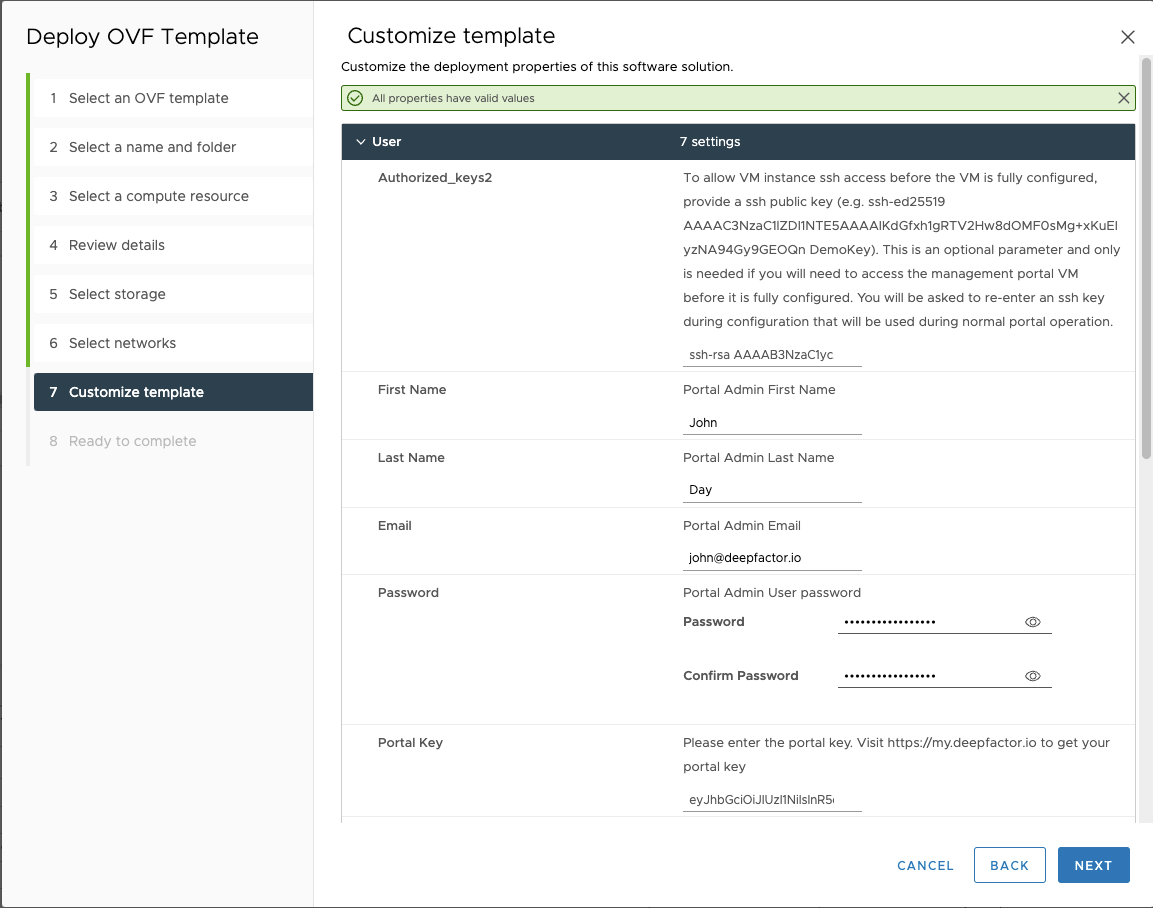
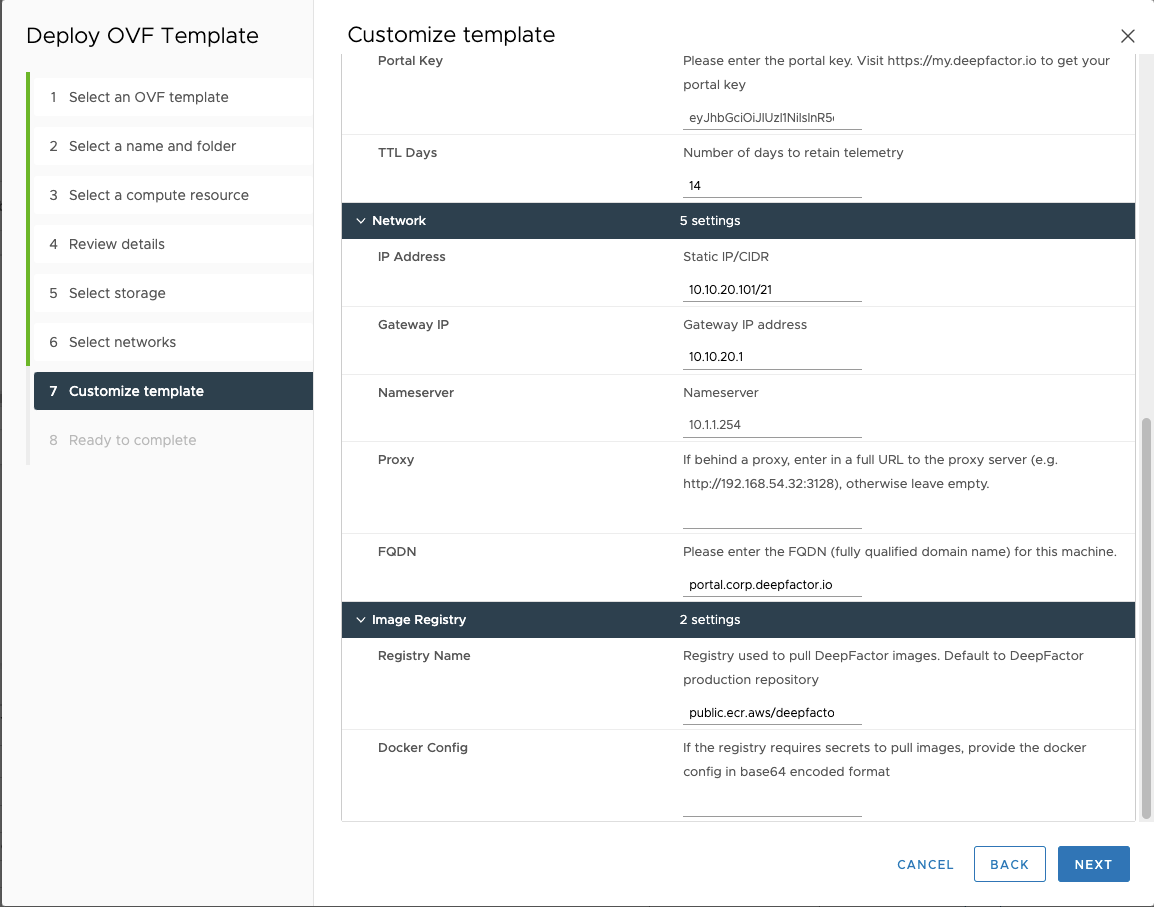
11. It is strongly recommended that you add a public SSH key into the “Authorized_keys2” field in the “Customize template” screen. This will allow later SSH access as “dfadmin” using the corresponding private key.
The remaining fields (Admin user name/email, Portal Key, TTL Days, Network parameters (Static IP, Proxy, FQDN, etc)) should all be filled out prior to clicking “Next”.
Important Notes!
* Ensure that the FQDN and IP address entered here are properly configured in your company’s DNS server prior to proceeding.
* The installation defaults to DHCP if any of the static IP parameters (IP/CIDR, Gateway IP and Nameserver) are not supplied.
12. Finish setup.

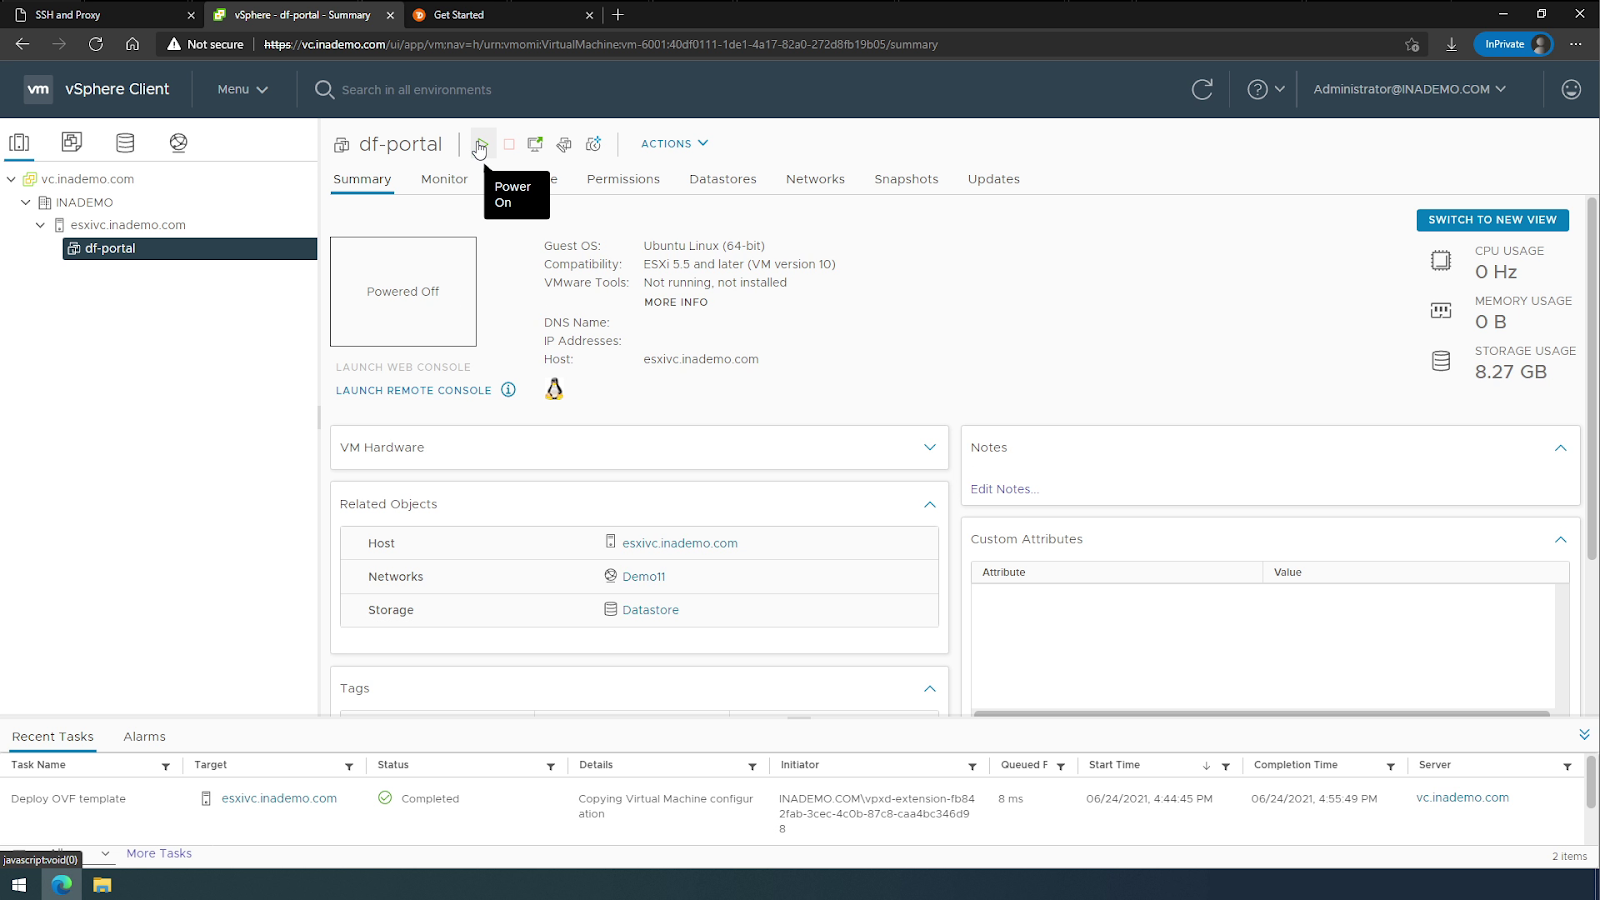
13. Power on the Virtual Machine. During first deployment, the software may take an additional 15-20 minutes to self-update and provision the remaining Deepfactor components.
14. Login to your Deepfactor portal using the credentials specified in the OVF parameters. The portal URL will be https://your-portal-name.company.com (substituting your-portal-name.company.com with the FQDN you used when deploying the OVA image).
Important Note!
If the portal shows a 502 error immediately after installation, wait a few minutes and try again (this indicates that some services are still being provisioned).
